

Canopy Kits


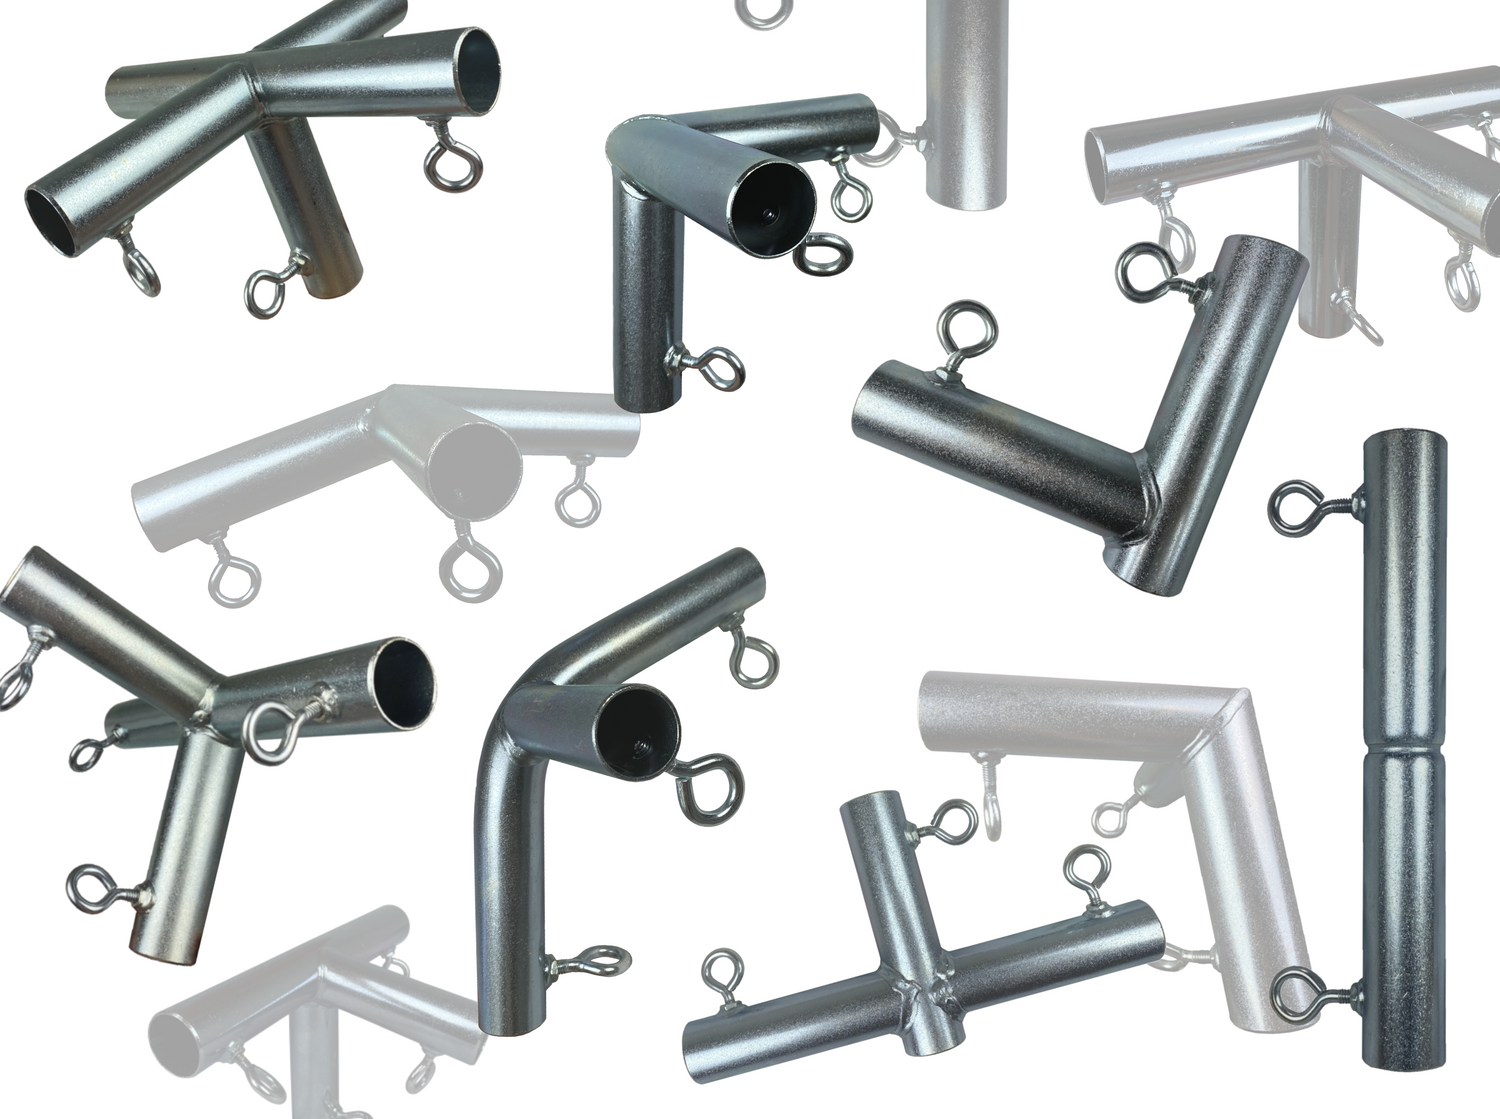
Canopy Fittings


Custom Canopies & Carports
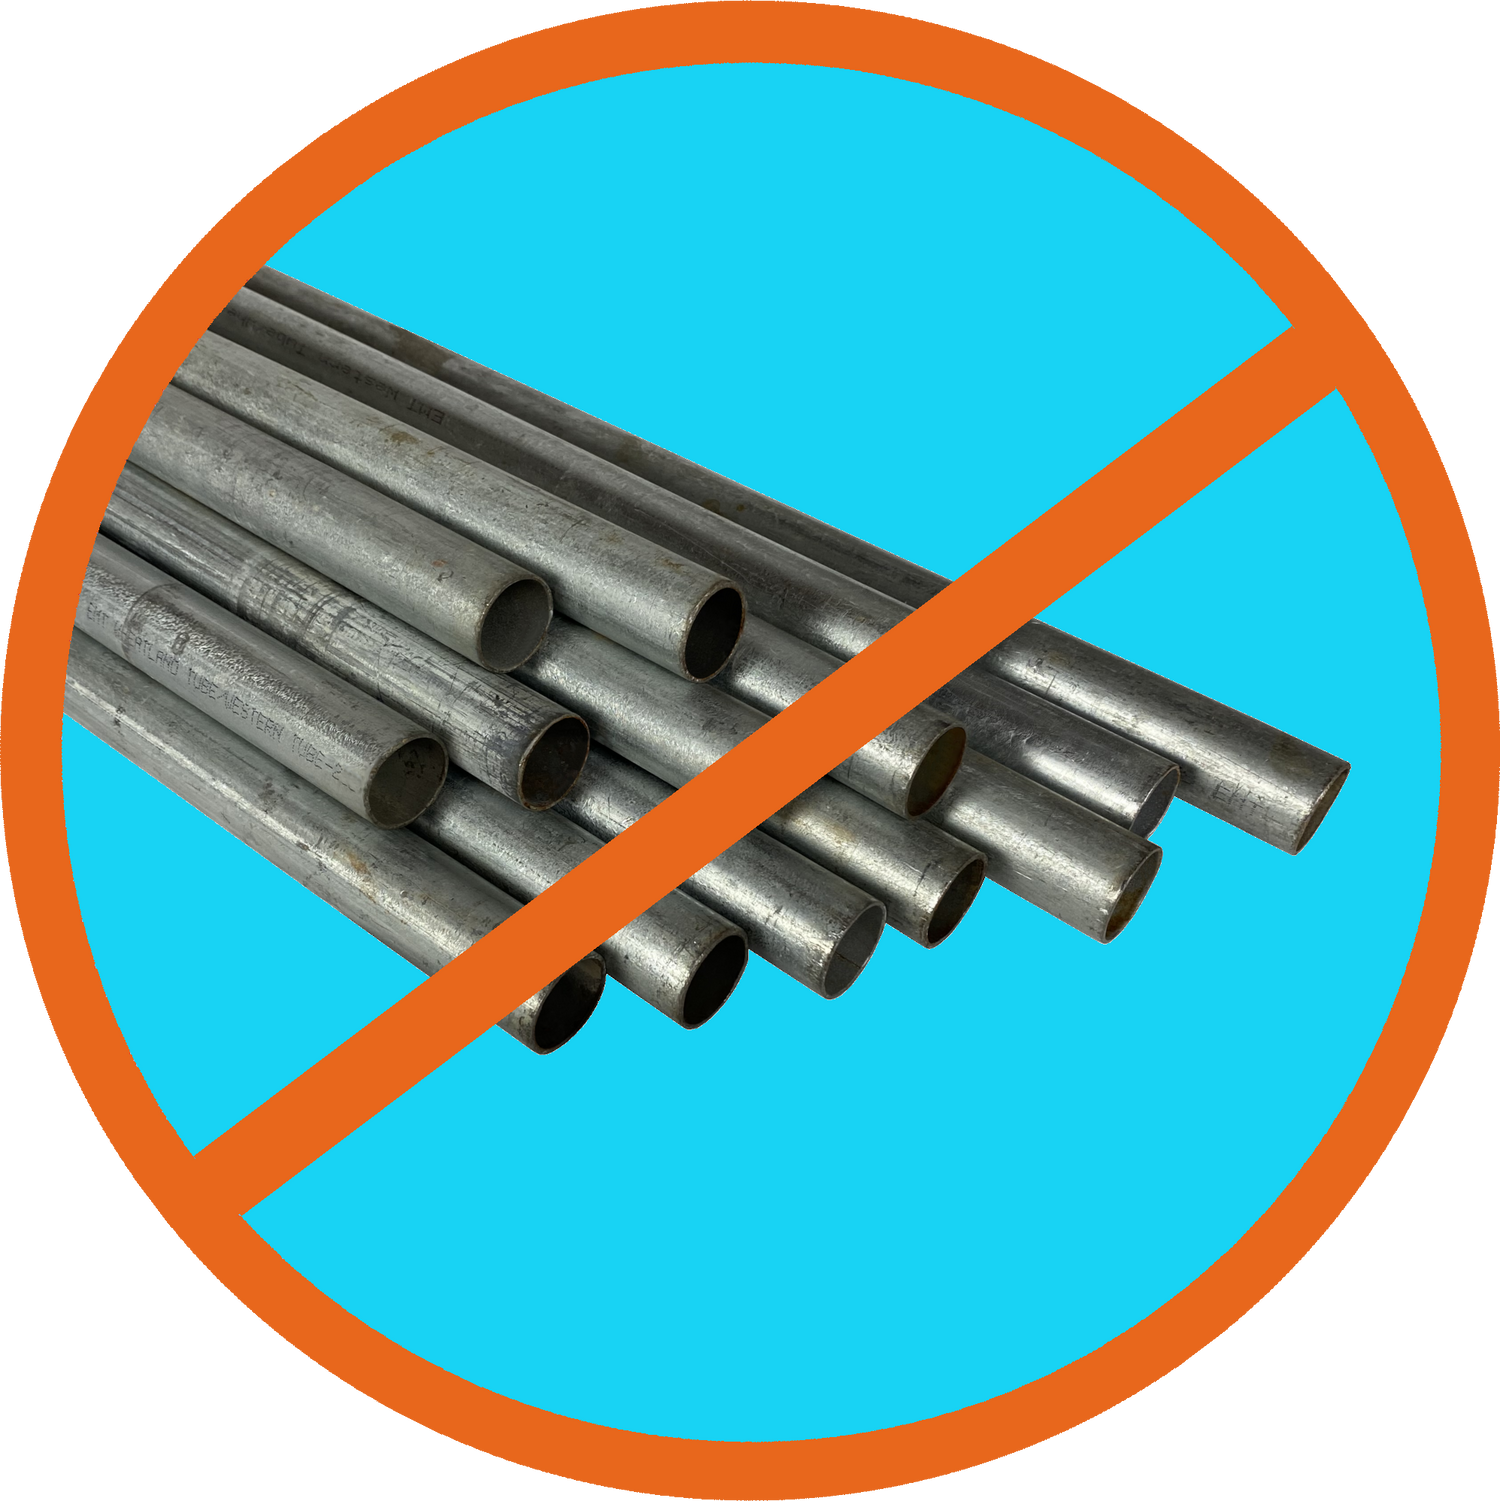
Poles NOT Included
Canopy poles (EMT Conduit - Electrical Metallic Tubing) are not included with Cowboy Canopy Kits. The poles are sold in 10' lengths at any major hardware store.
Premium Canopy Fittings
-
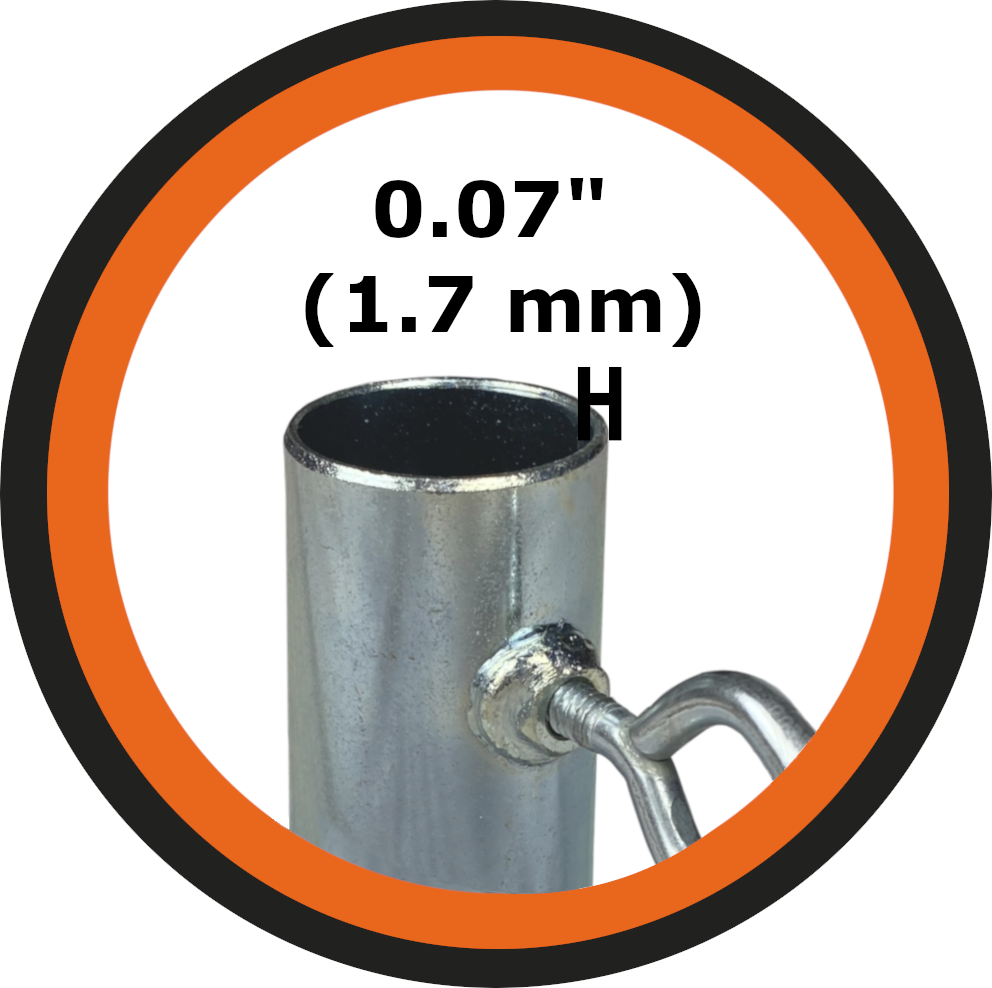
Strong
Heavy Duty 15-Gauge Steel Thickness
-
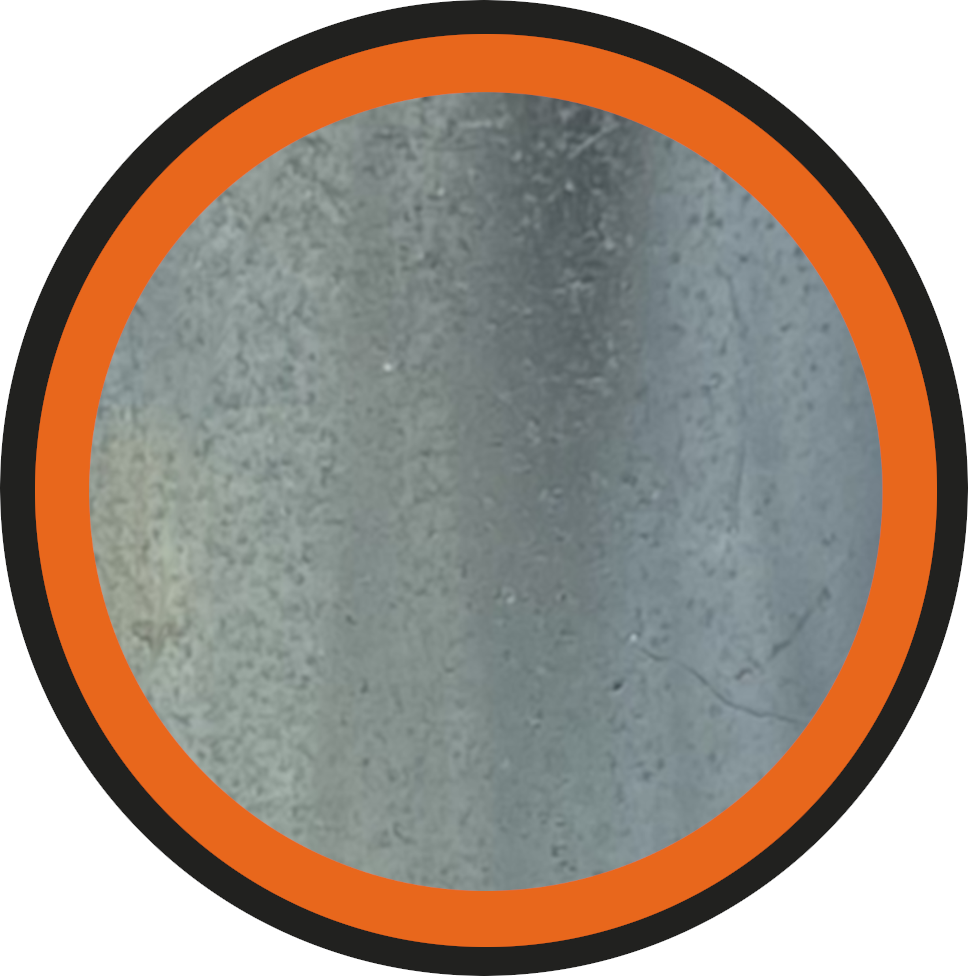
Rust Resistant
Galvanized Steel is Long-Lasting
-
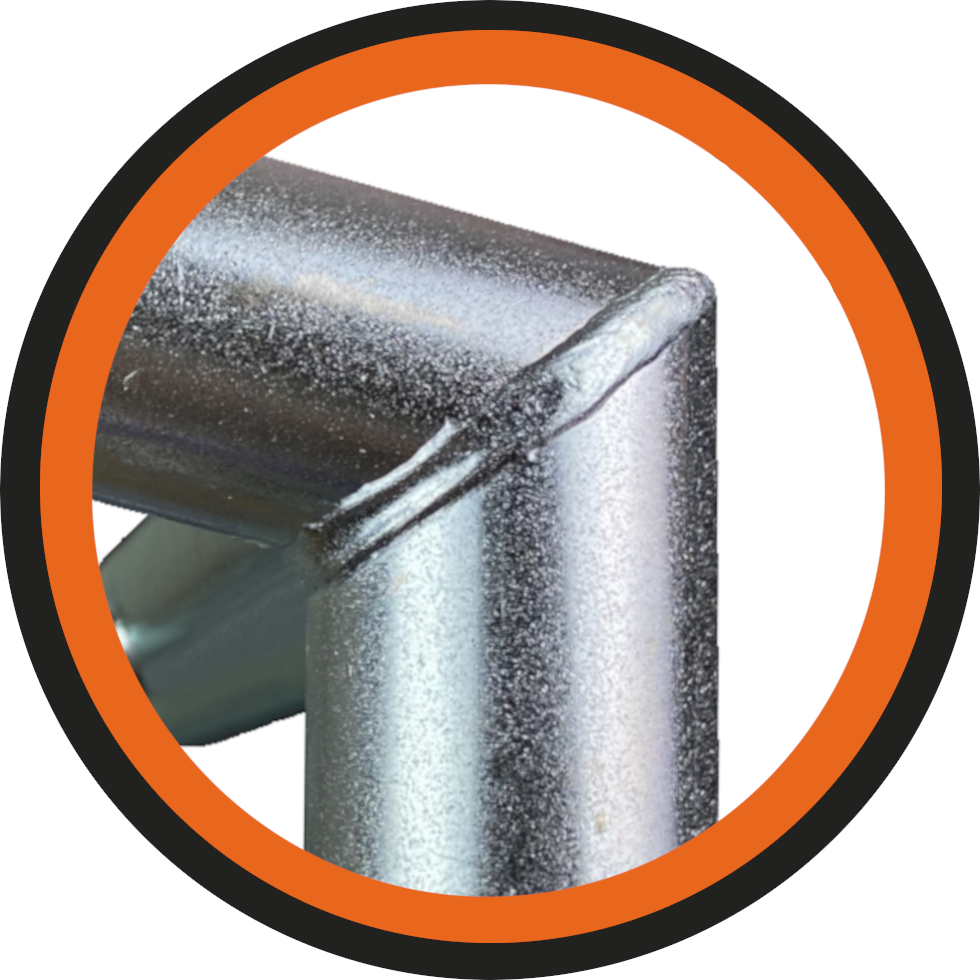
Integrity
Solid Welded Joints
-
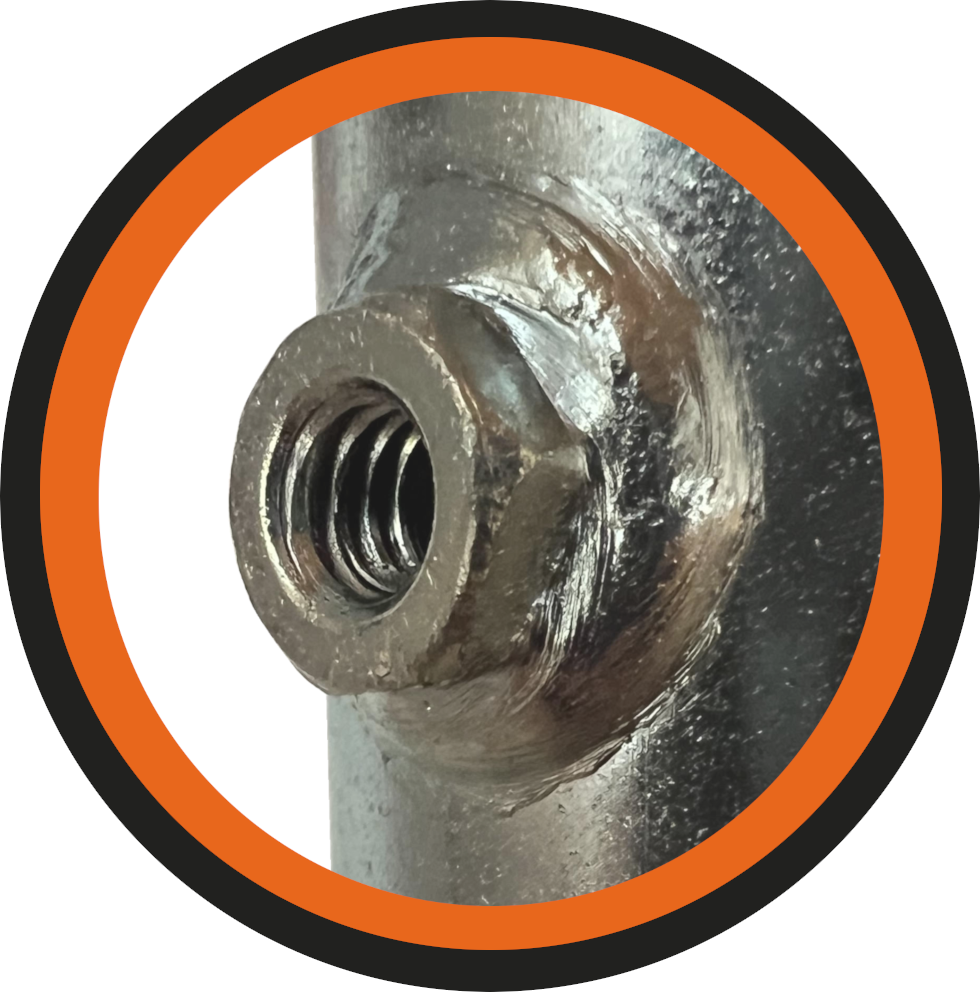
Quality Craftsmanship
360 Degree Welds around Eye Bolt nuts


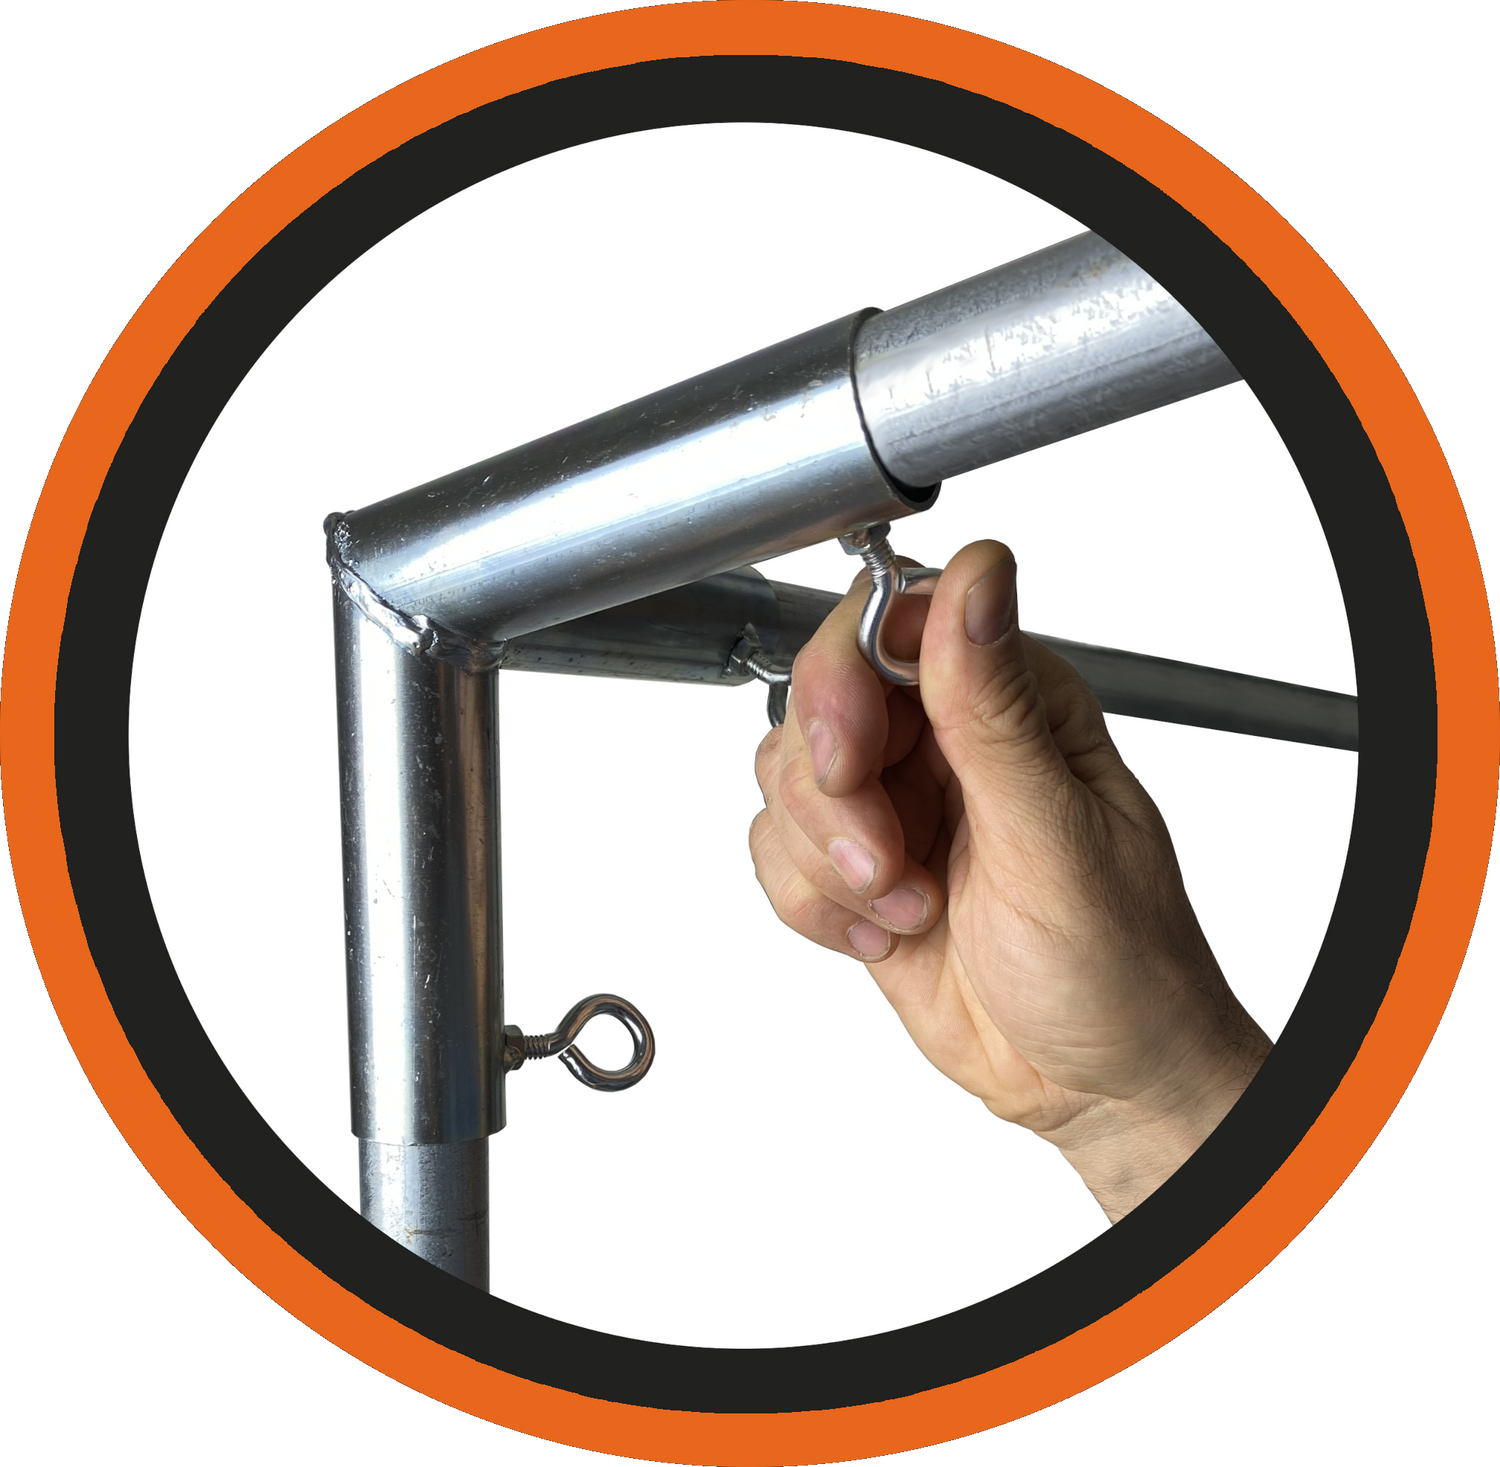
Assembly without Tools
All Cowboy Canopy Fittings have Eye Bolts, which make it possible to build canopies quickly without tools. Simply insert your poles and tighten the eye bolts by hand. Unscrew to take town.

Roof Types
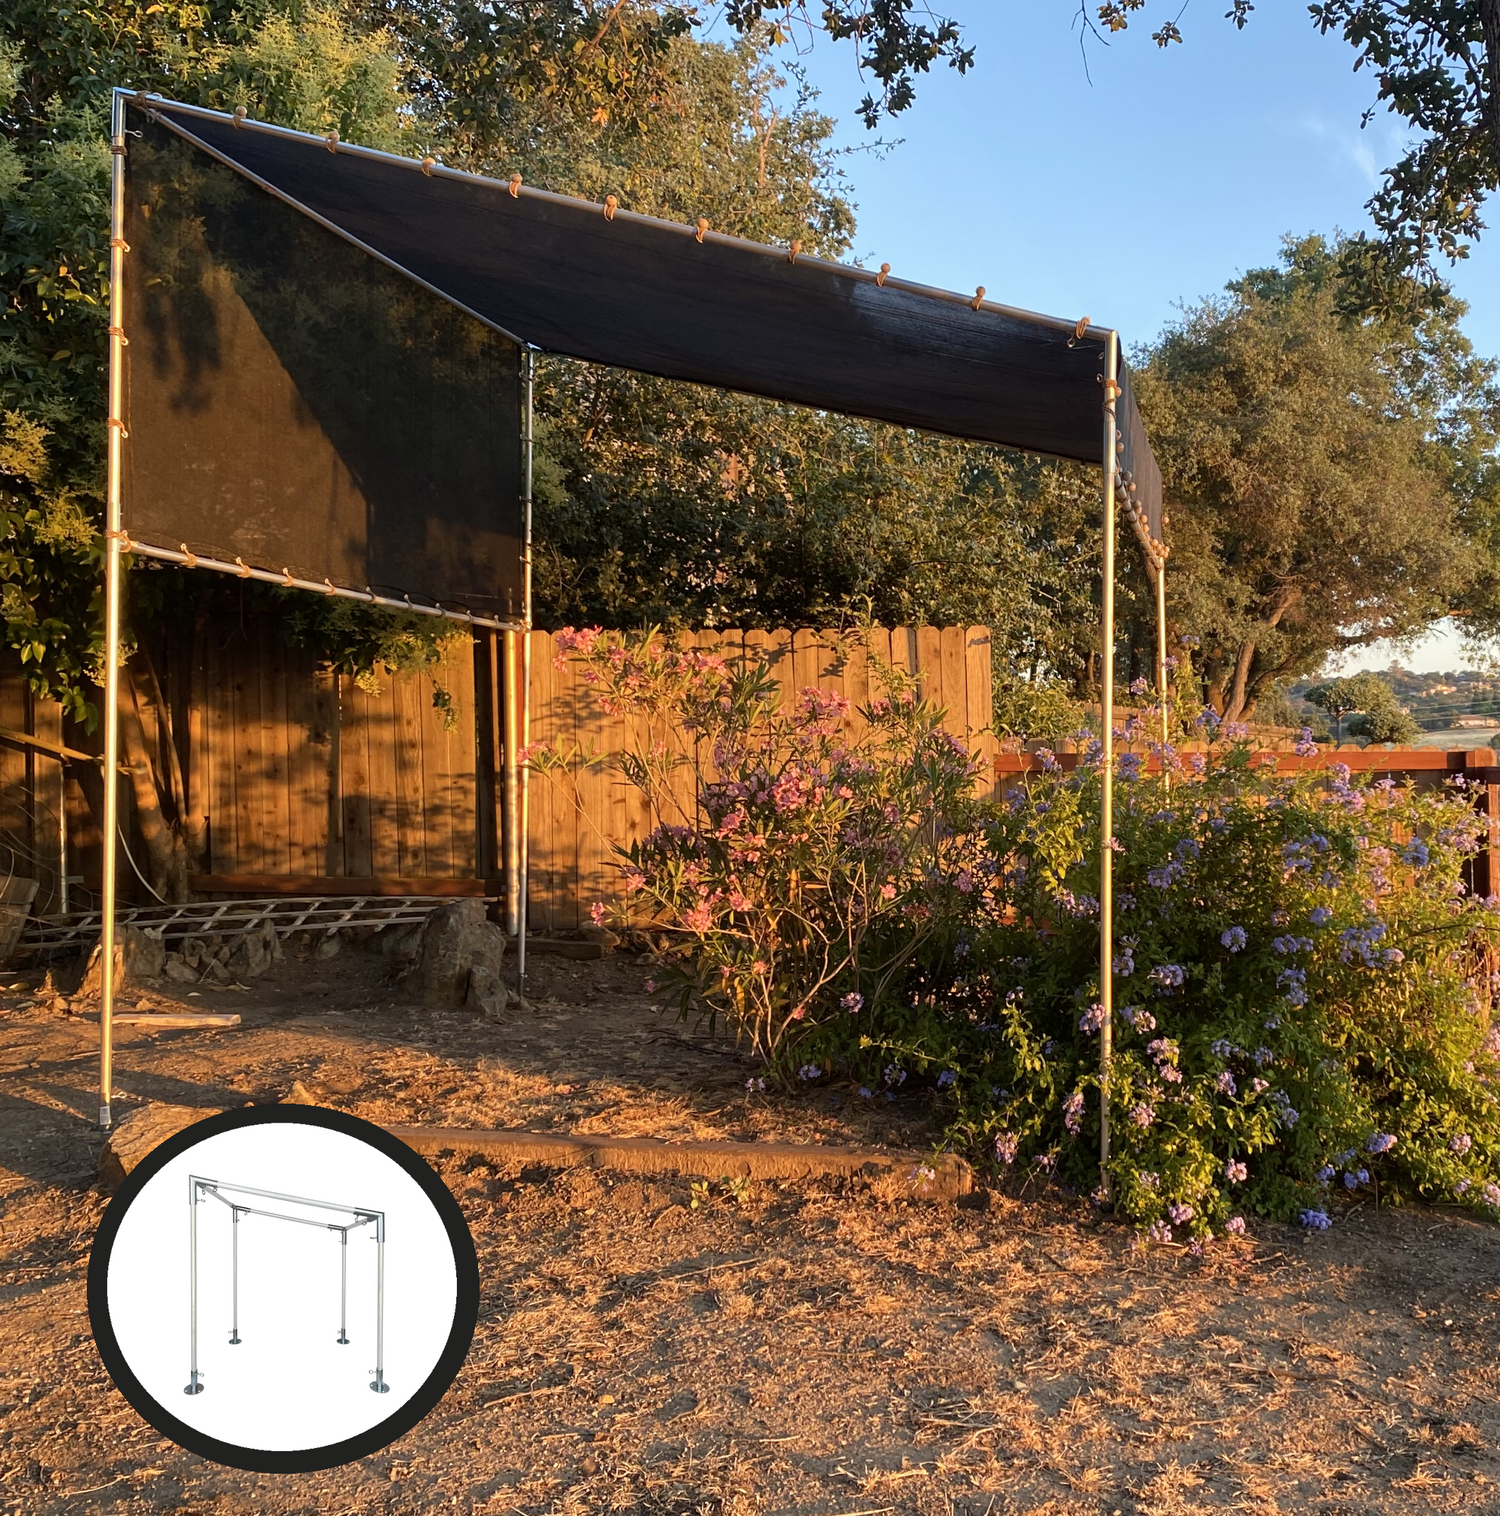
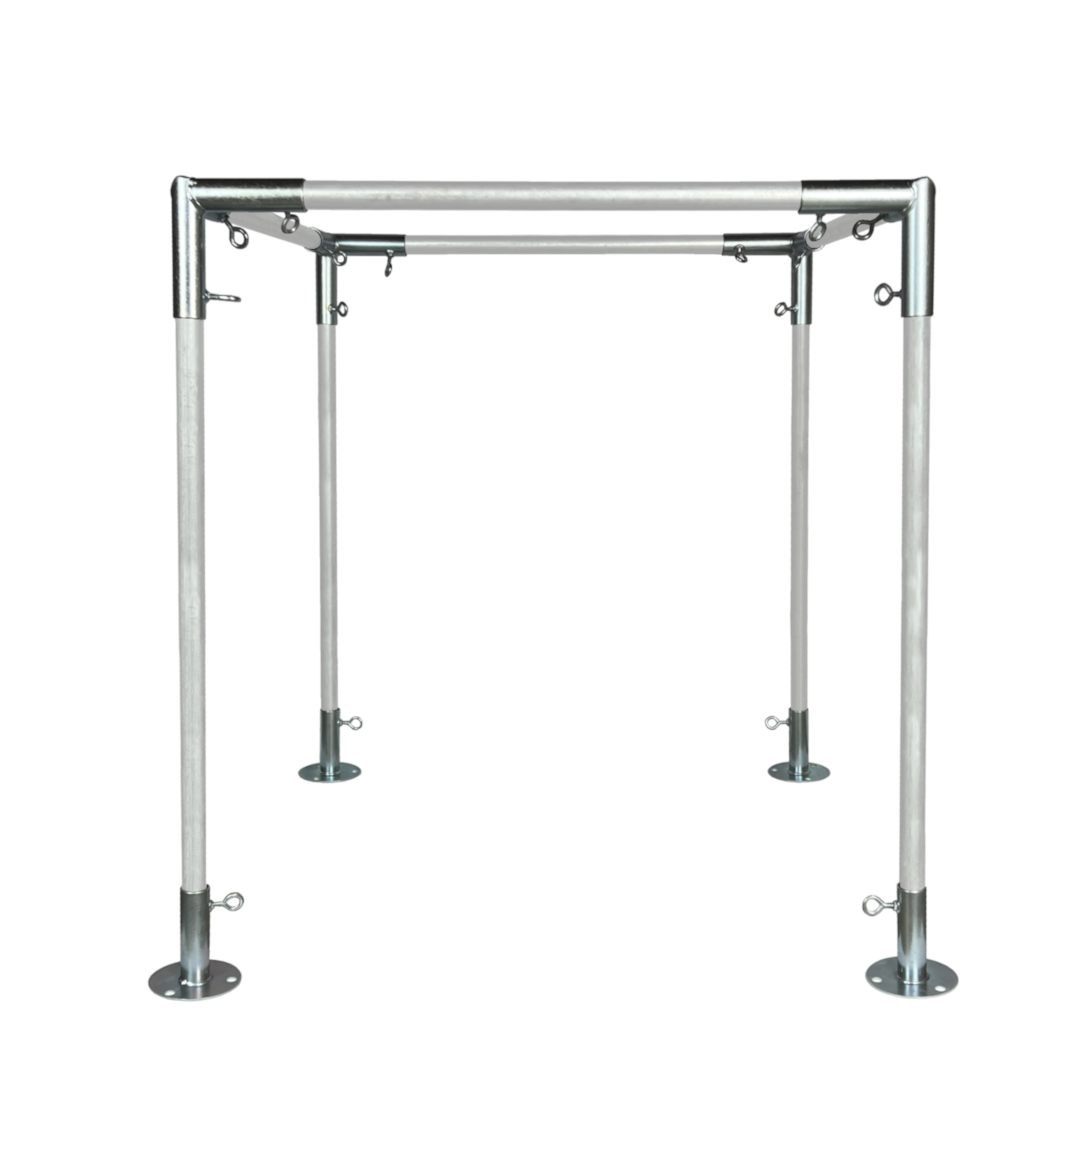
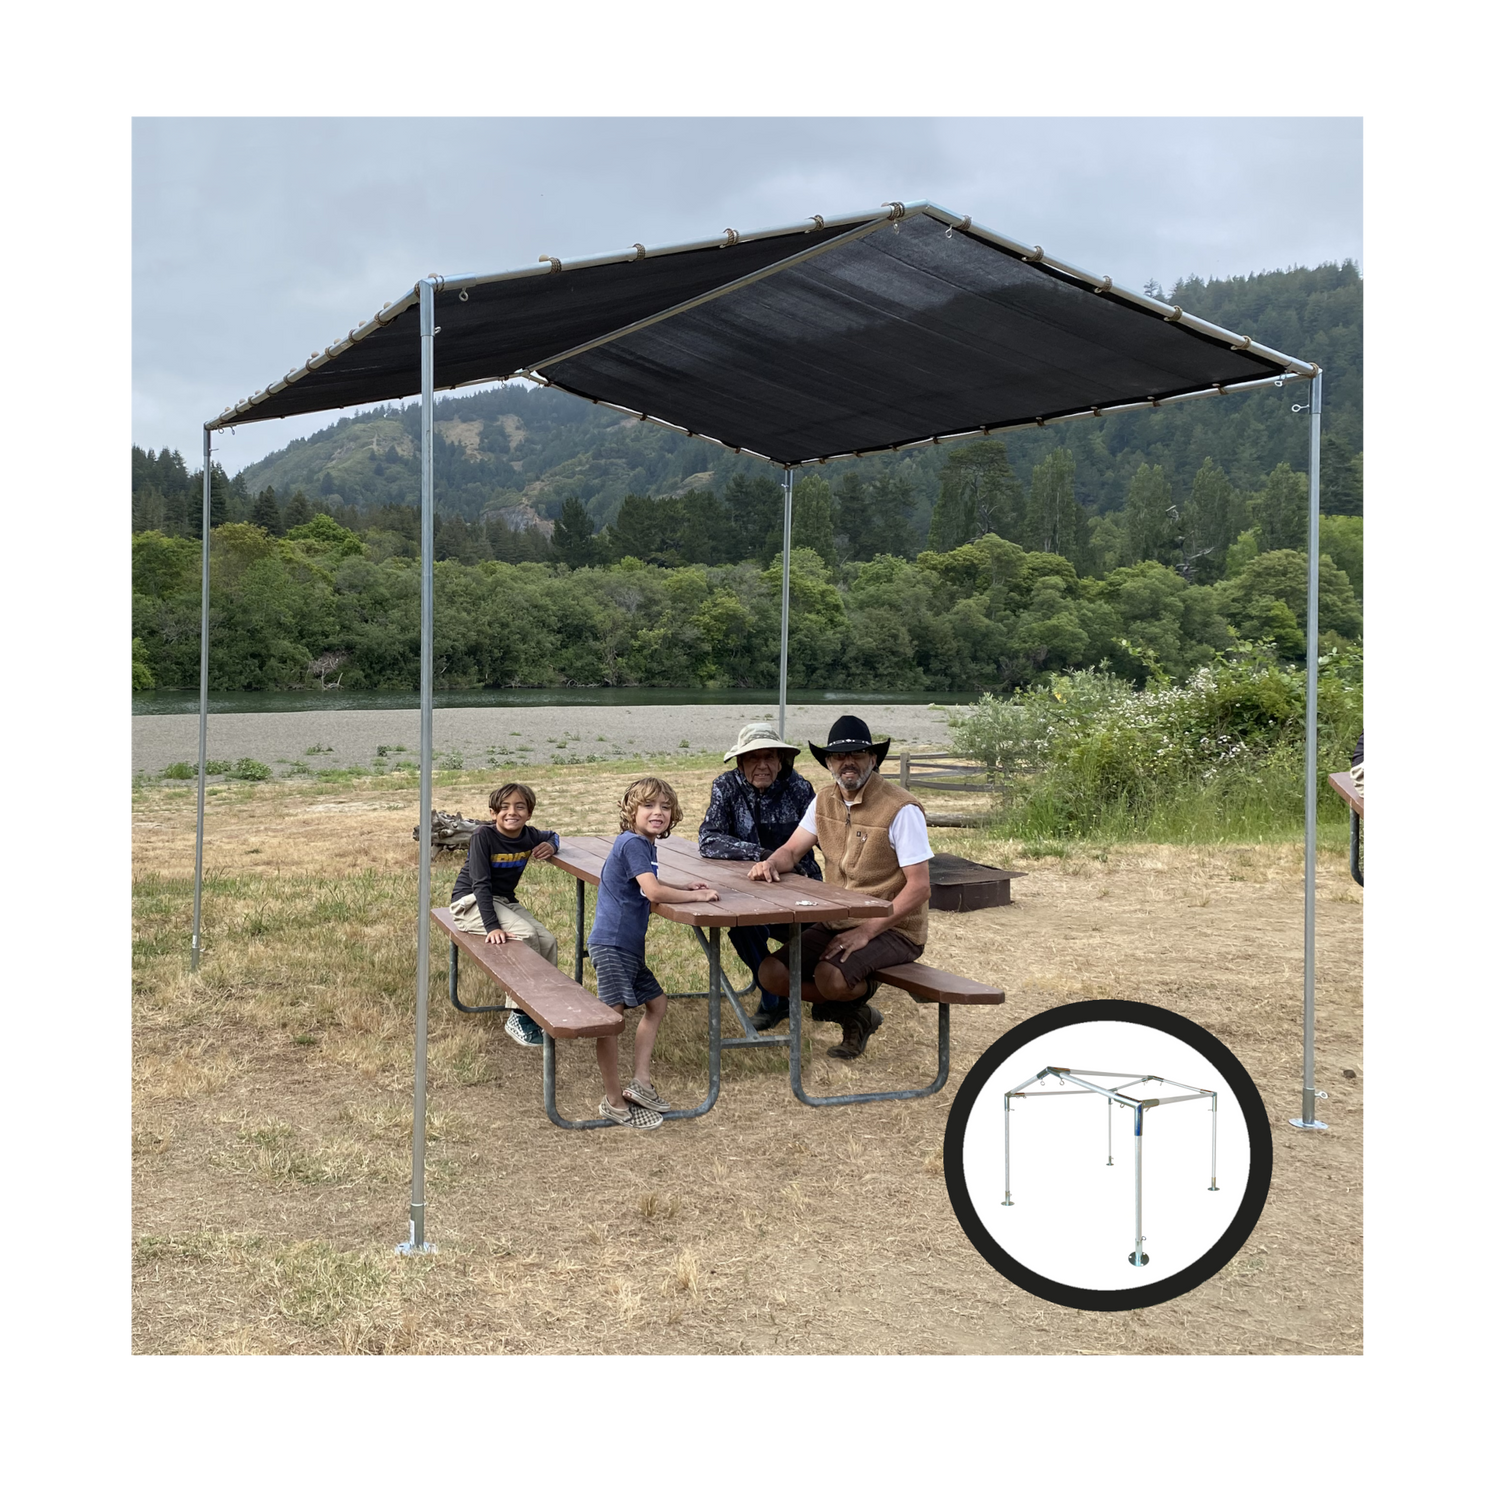
Slope (Lean-To)
- Carports
- Shade Structures
- Shelters
- 102 degree roof pitch
- Most popular roof style
- Unilateral drainage
- NOT recommended for snow
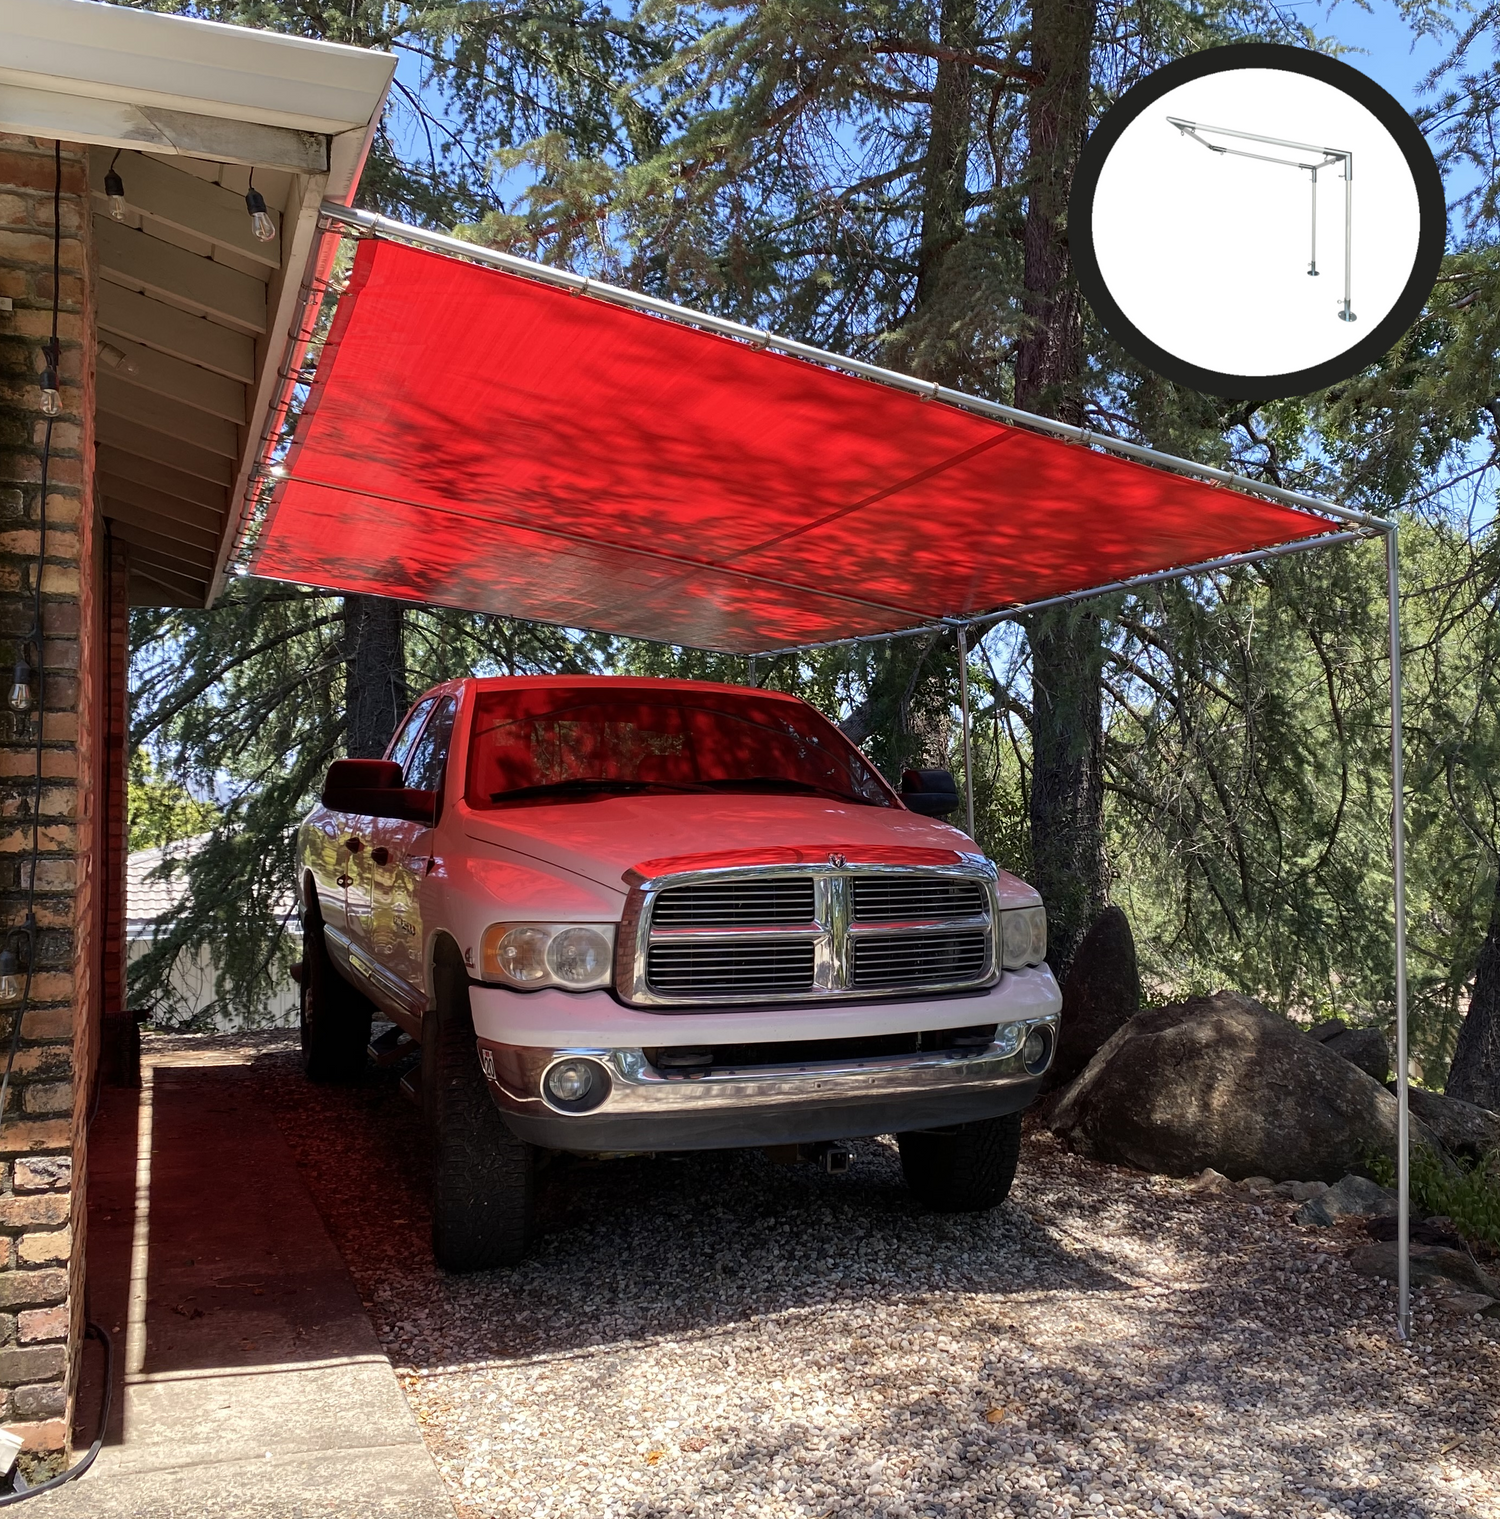
Slope Awning (Wall-Mounted)
- Carports
- Shade Awnings
- 102 degree roof pitch
- Unilateral drainage
- Wall-Mounted on one side
- NOT recommended for snow
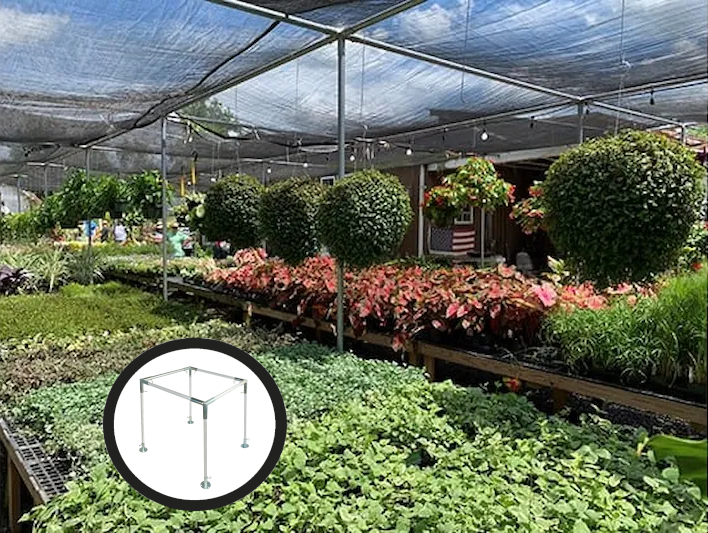
Flat Roof
- Greenhouses
- Batting cages
- Golf enclosures
- Frames for bird netting
- Chicken coops
- Use with permeable covers
- NOT for use with tarps
- Tarps are NOT permeable
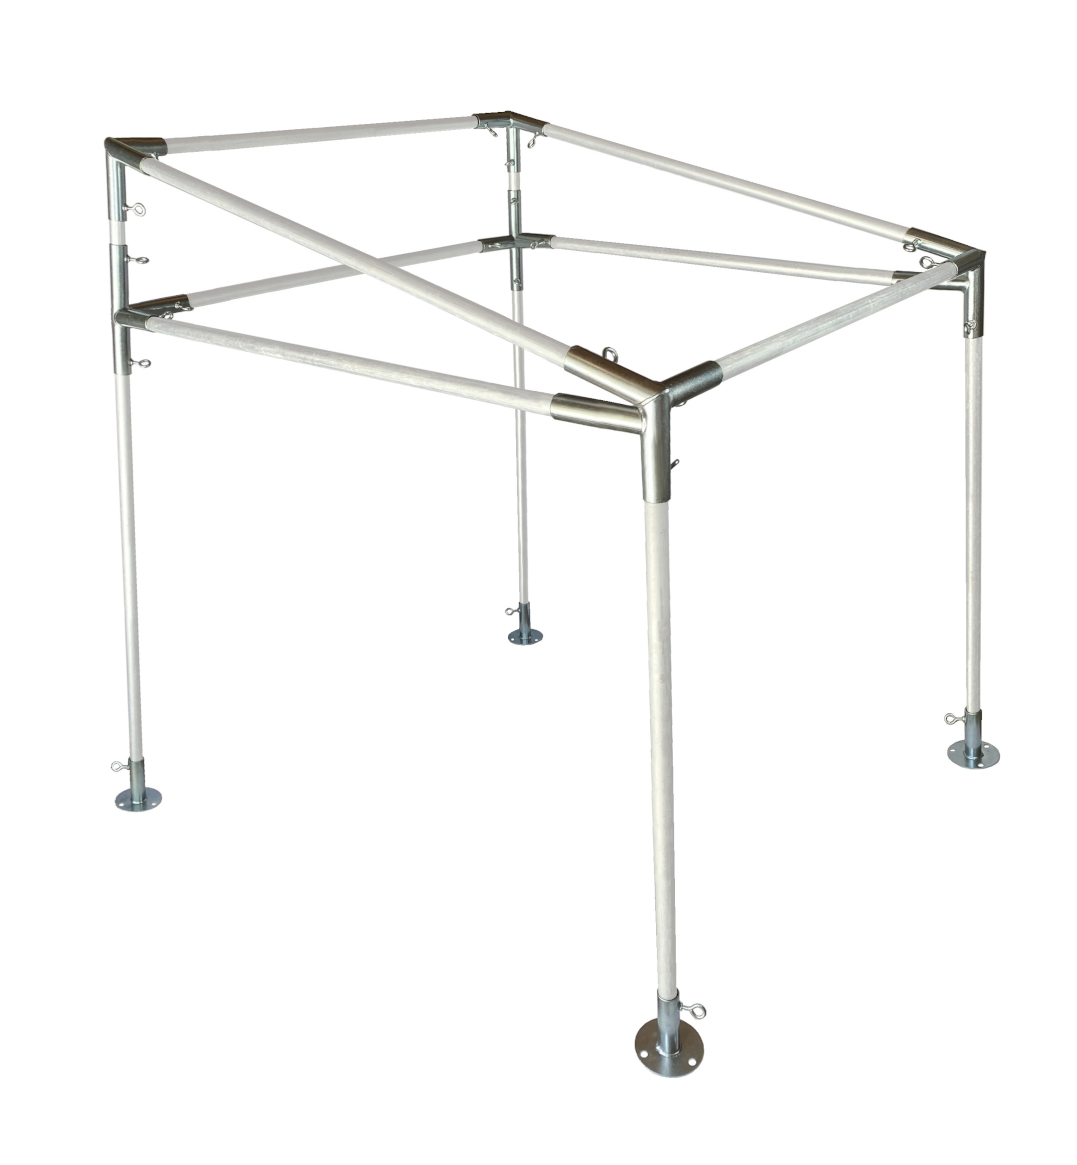
Low Peak
- Carports
- General Shade Shelters
- 102 degree roof pitch
- NOT recommended for snow
102 degrees is NOT steep enough to induce shedding of snow. This roof pitch may cause snow to accumulate on your roof and damage your canopy and/or property. For snow, use a High Peak Canopy or A-Frame.

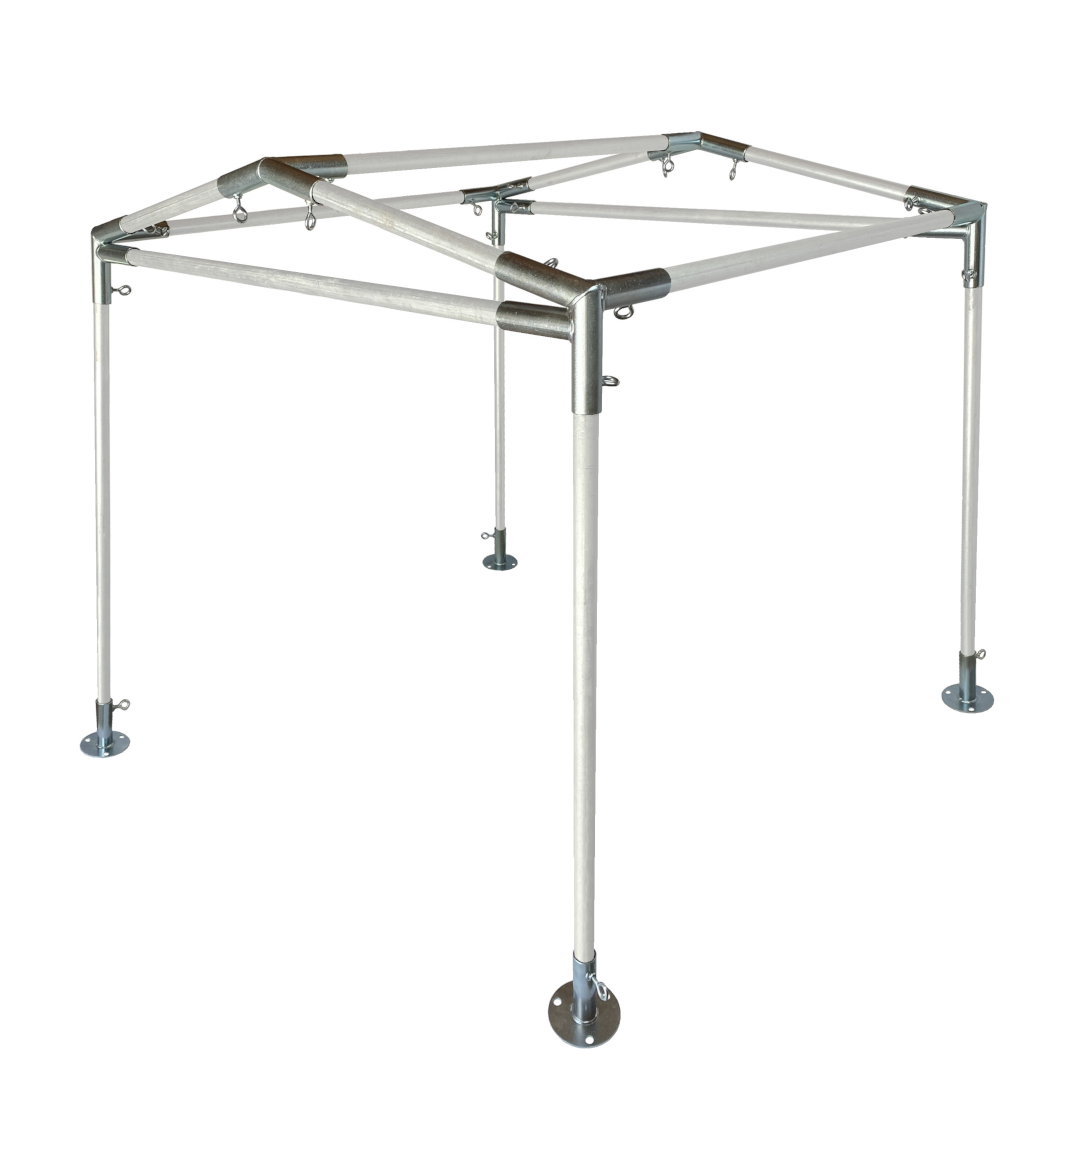
High Peak
- Carports
- General Shade Shelters
- High clearance
- 120 degree roof pitch
Canopy of choice for snow. Steep roof pitch (120 degree) induces shedding of snow, and lowers your risk of canopy/property damage in severe weather.
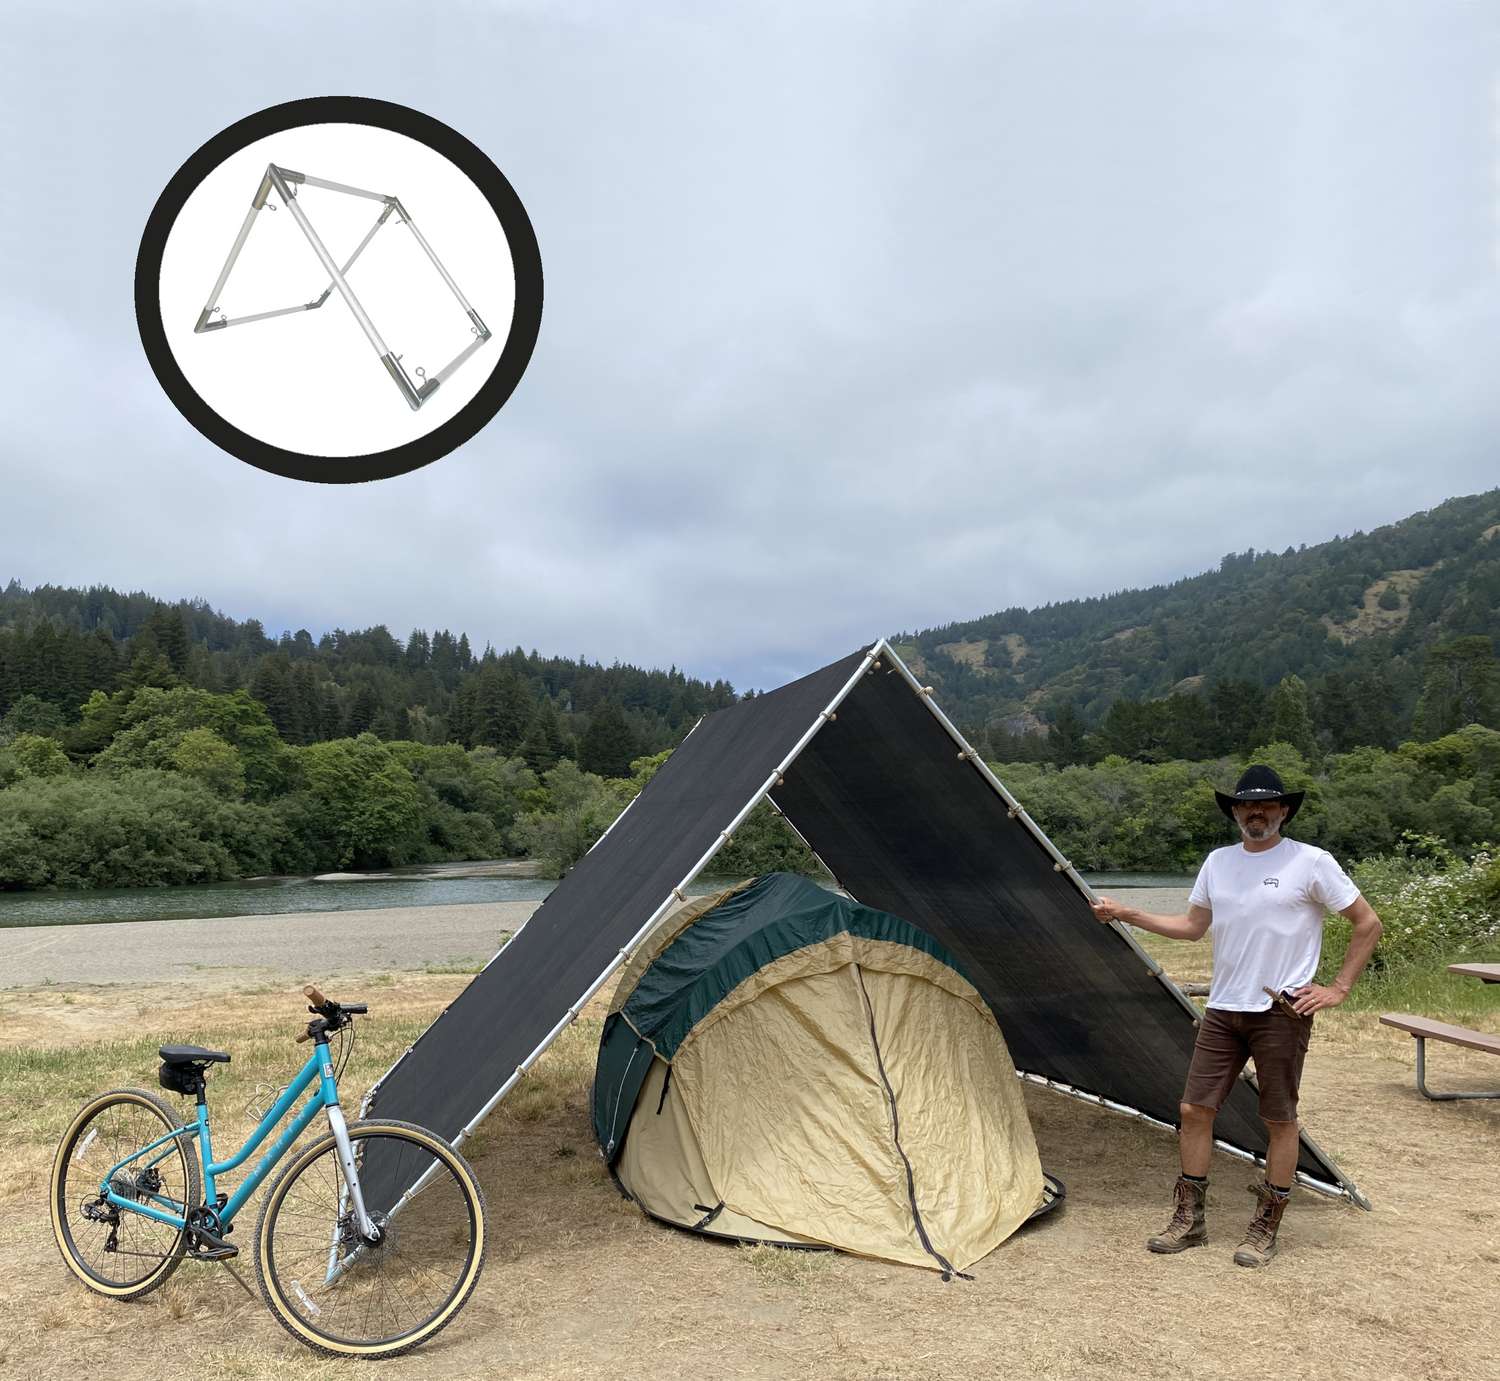
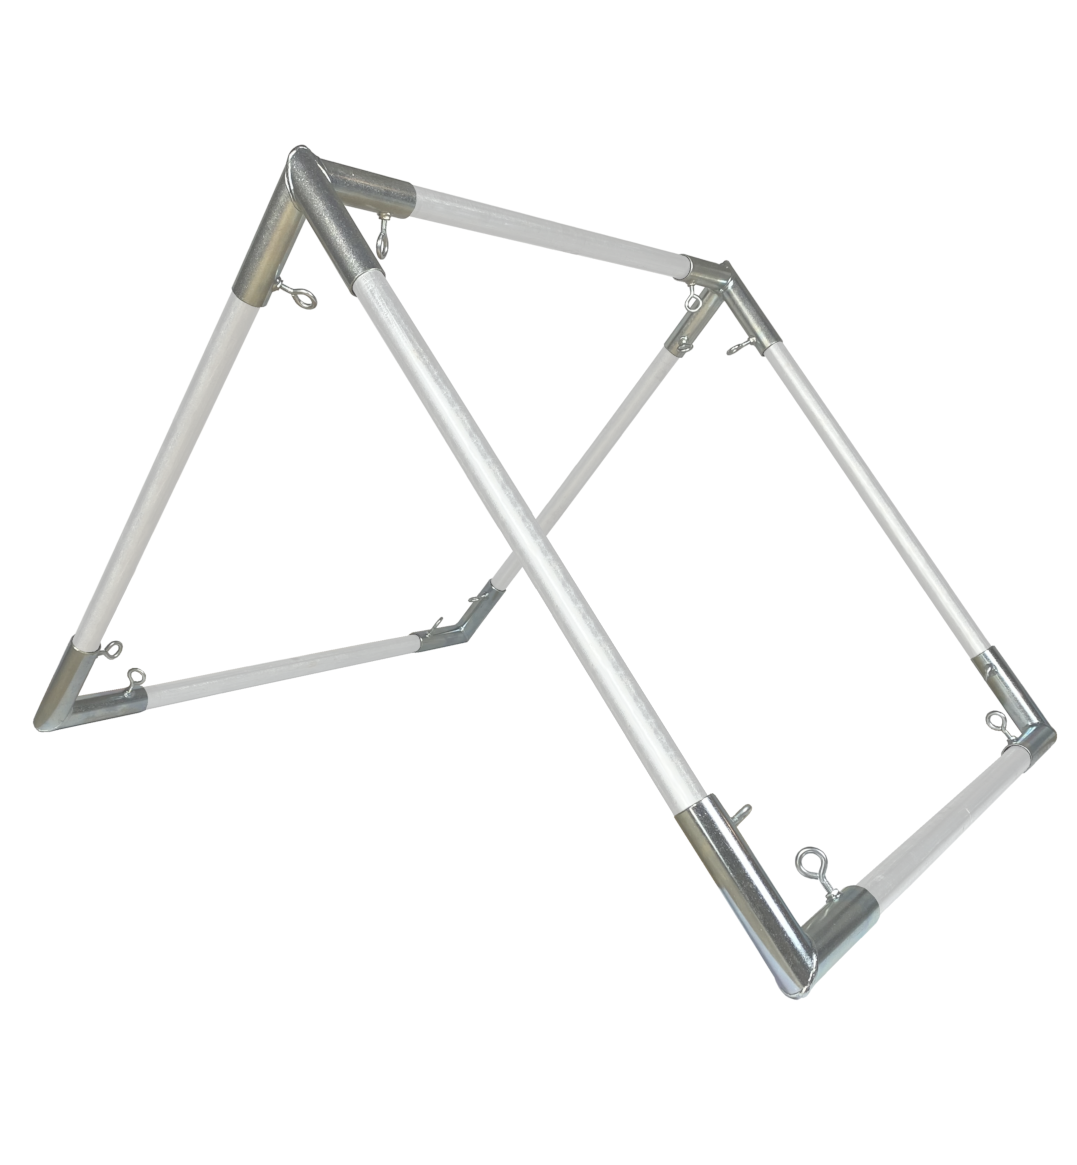
A-Frame
- Livestock Shelter
- Dog House
- Camping Shelter
- Solar Panel Stands
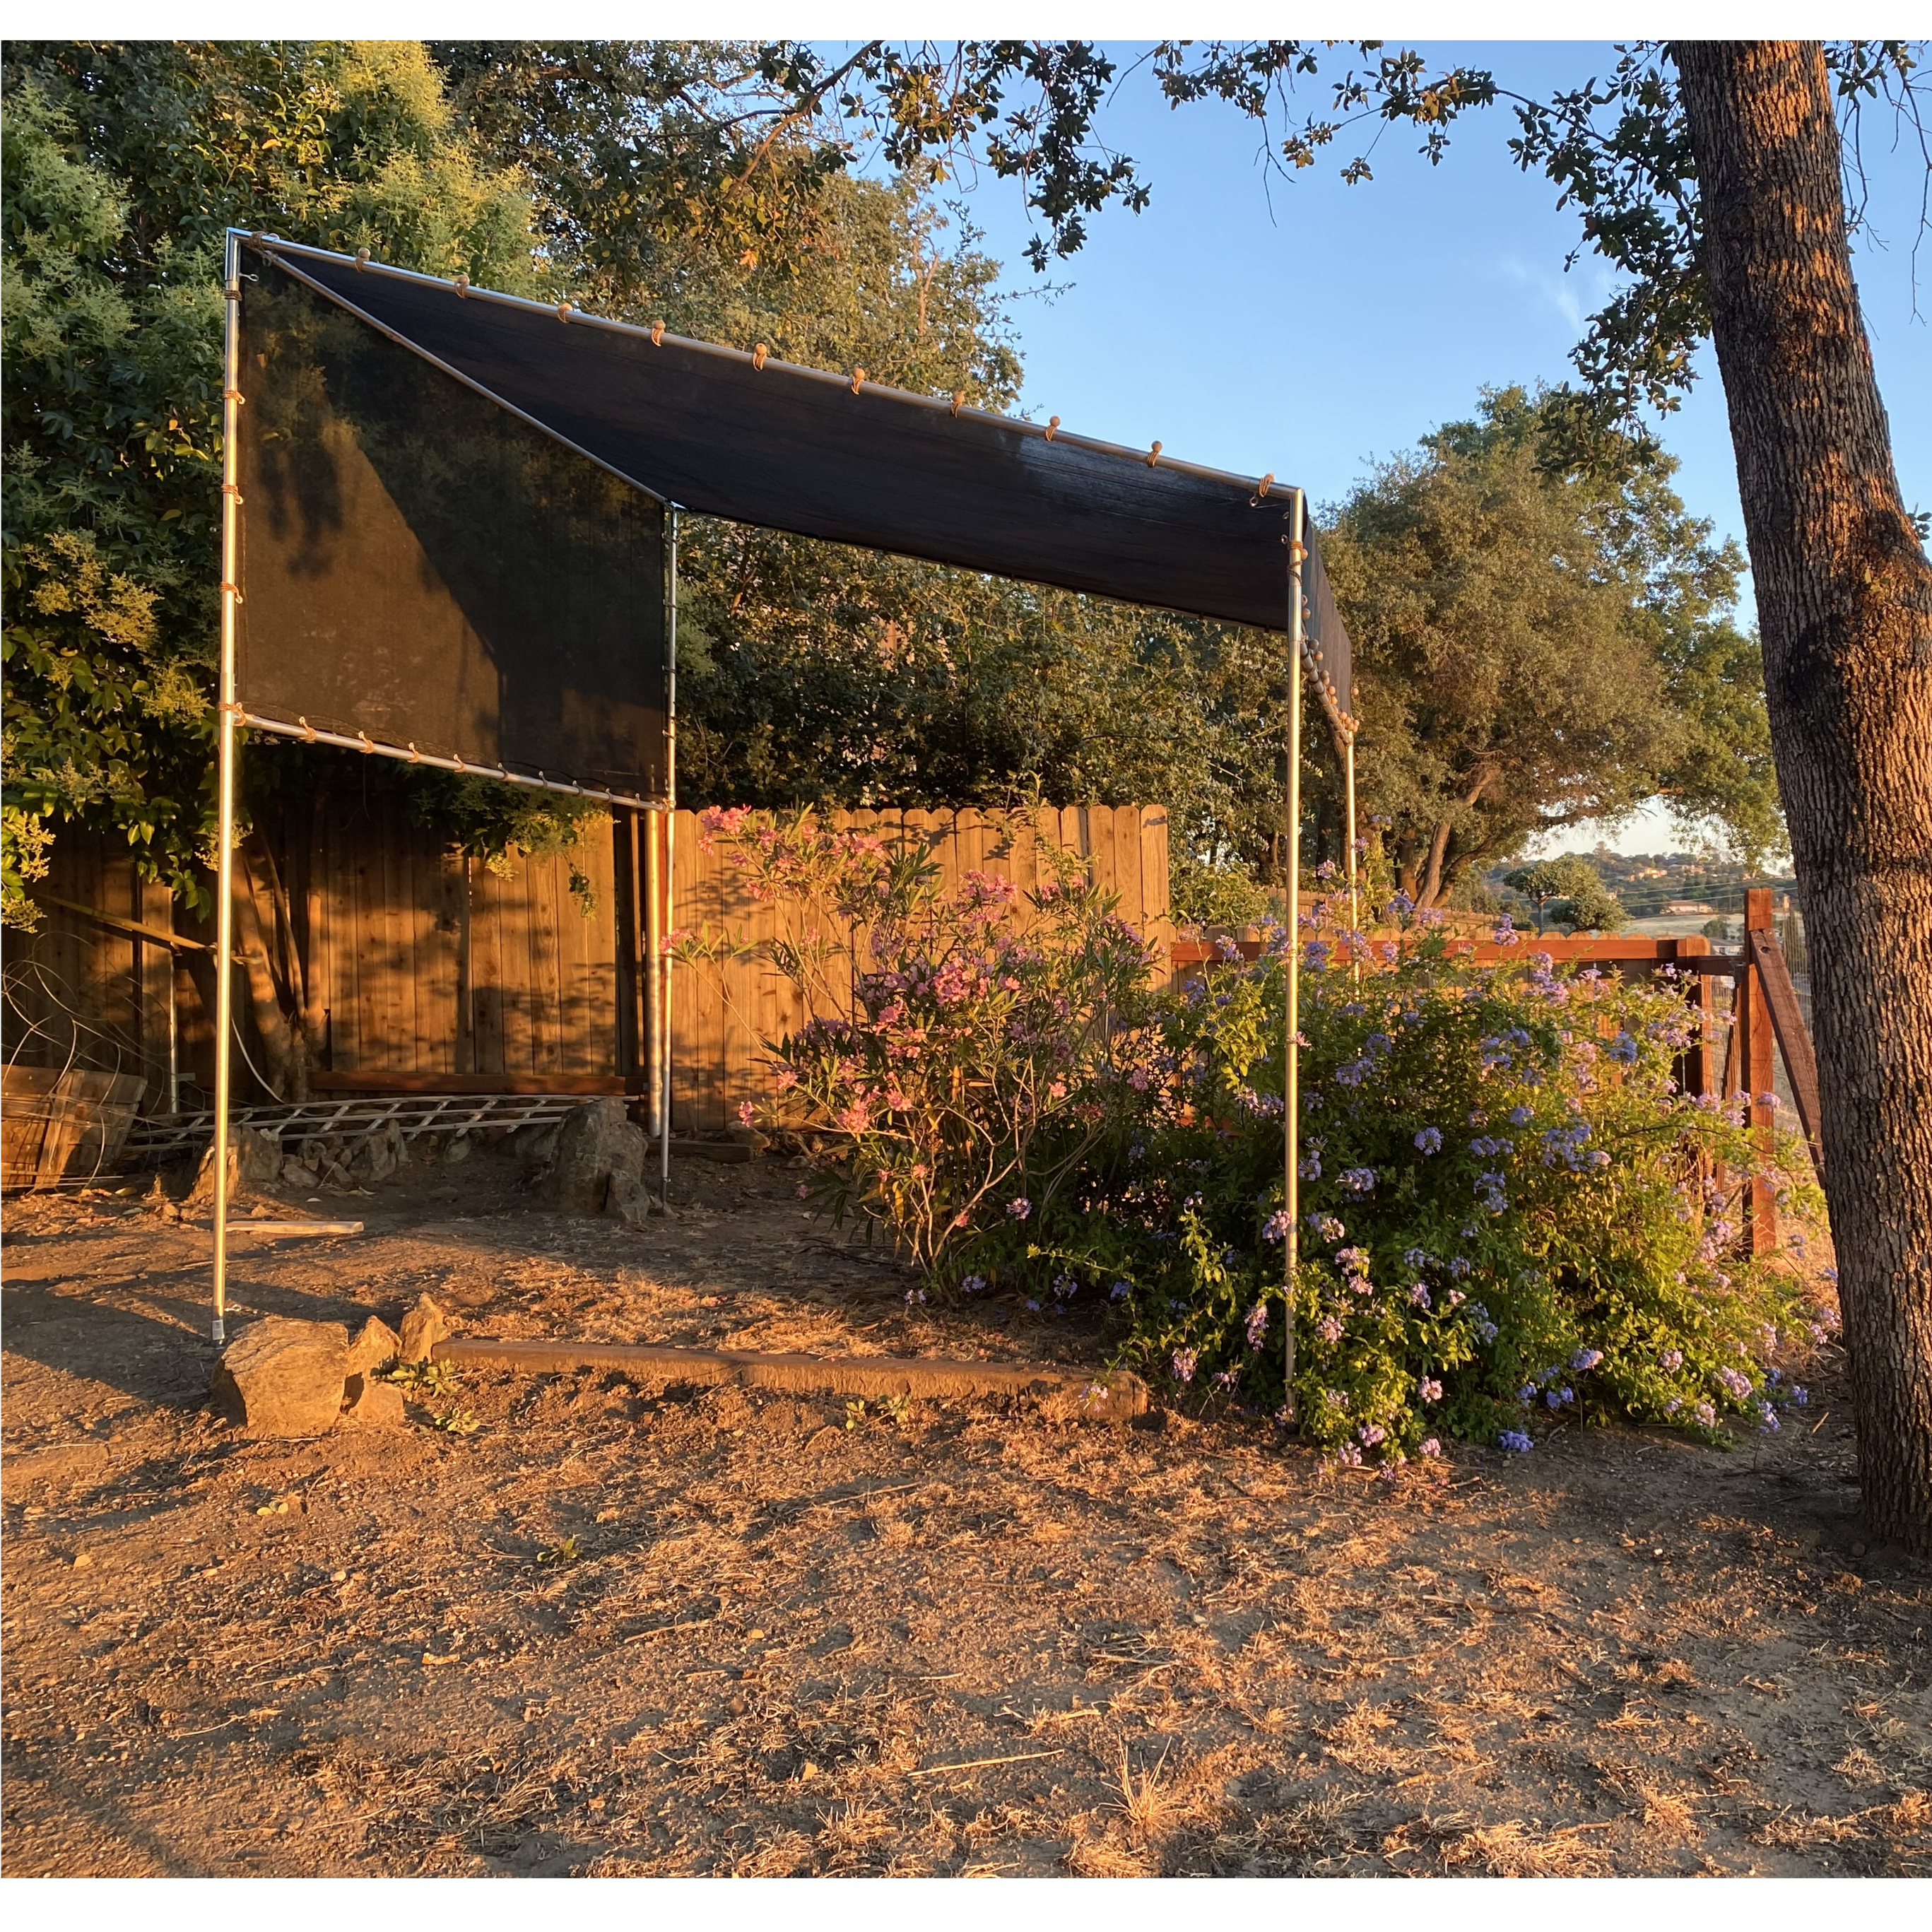
How to build a 10' x 10' Slope Canopy with Foot Pads and 2 Side Walls
-

Step 1
Buy your premium Canopy Fittings from Cowboy Canopy. Instructions are included with all Kits. Your box of Fittings will ship out promptly and shipping is free. In this example, we are building a 10' x 10' Slope Canopy with Foot Pads and 2 Side Walls. This Kit contains 12 Canopy Fittings.
-
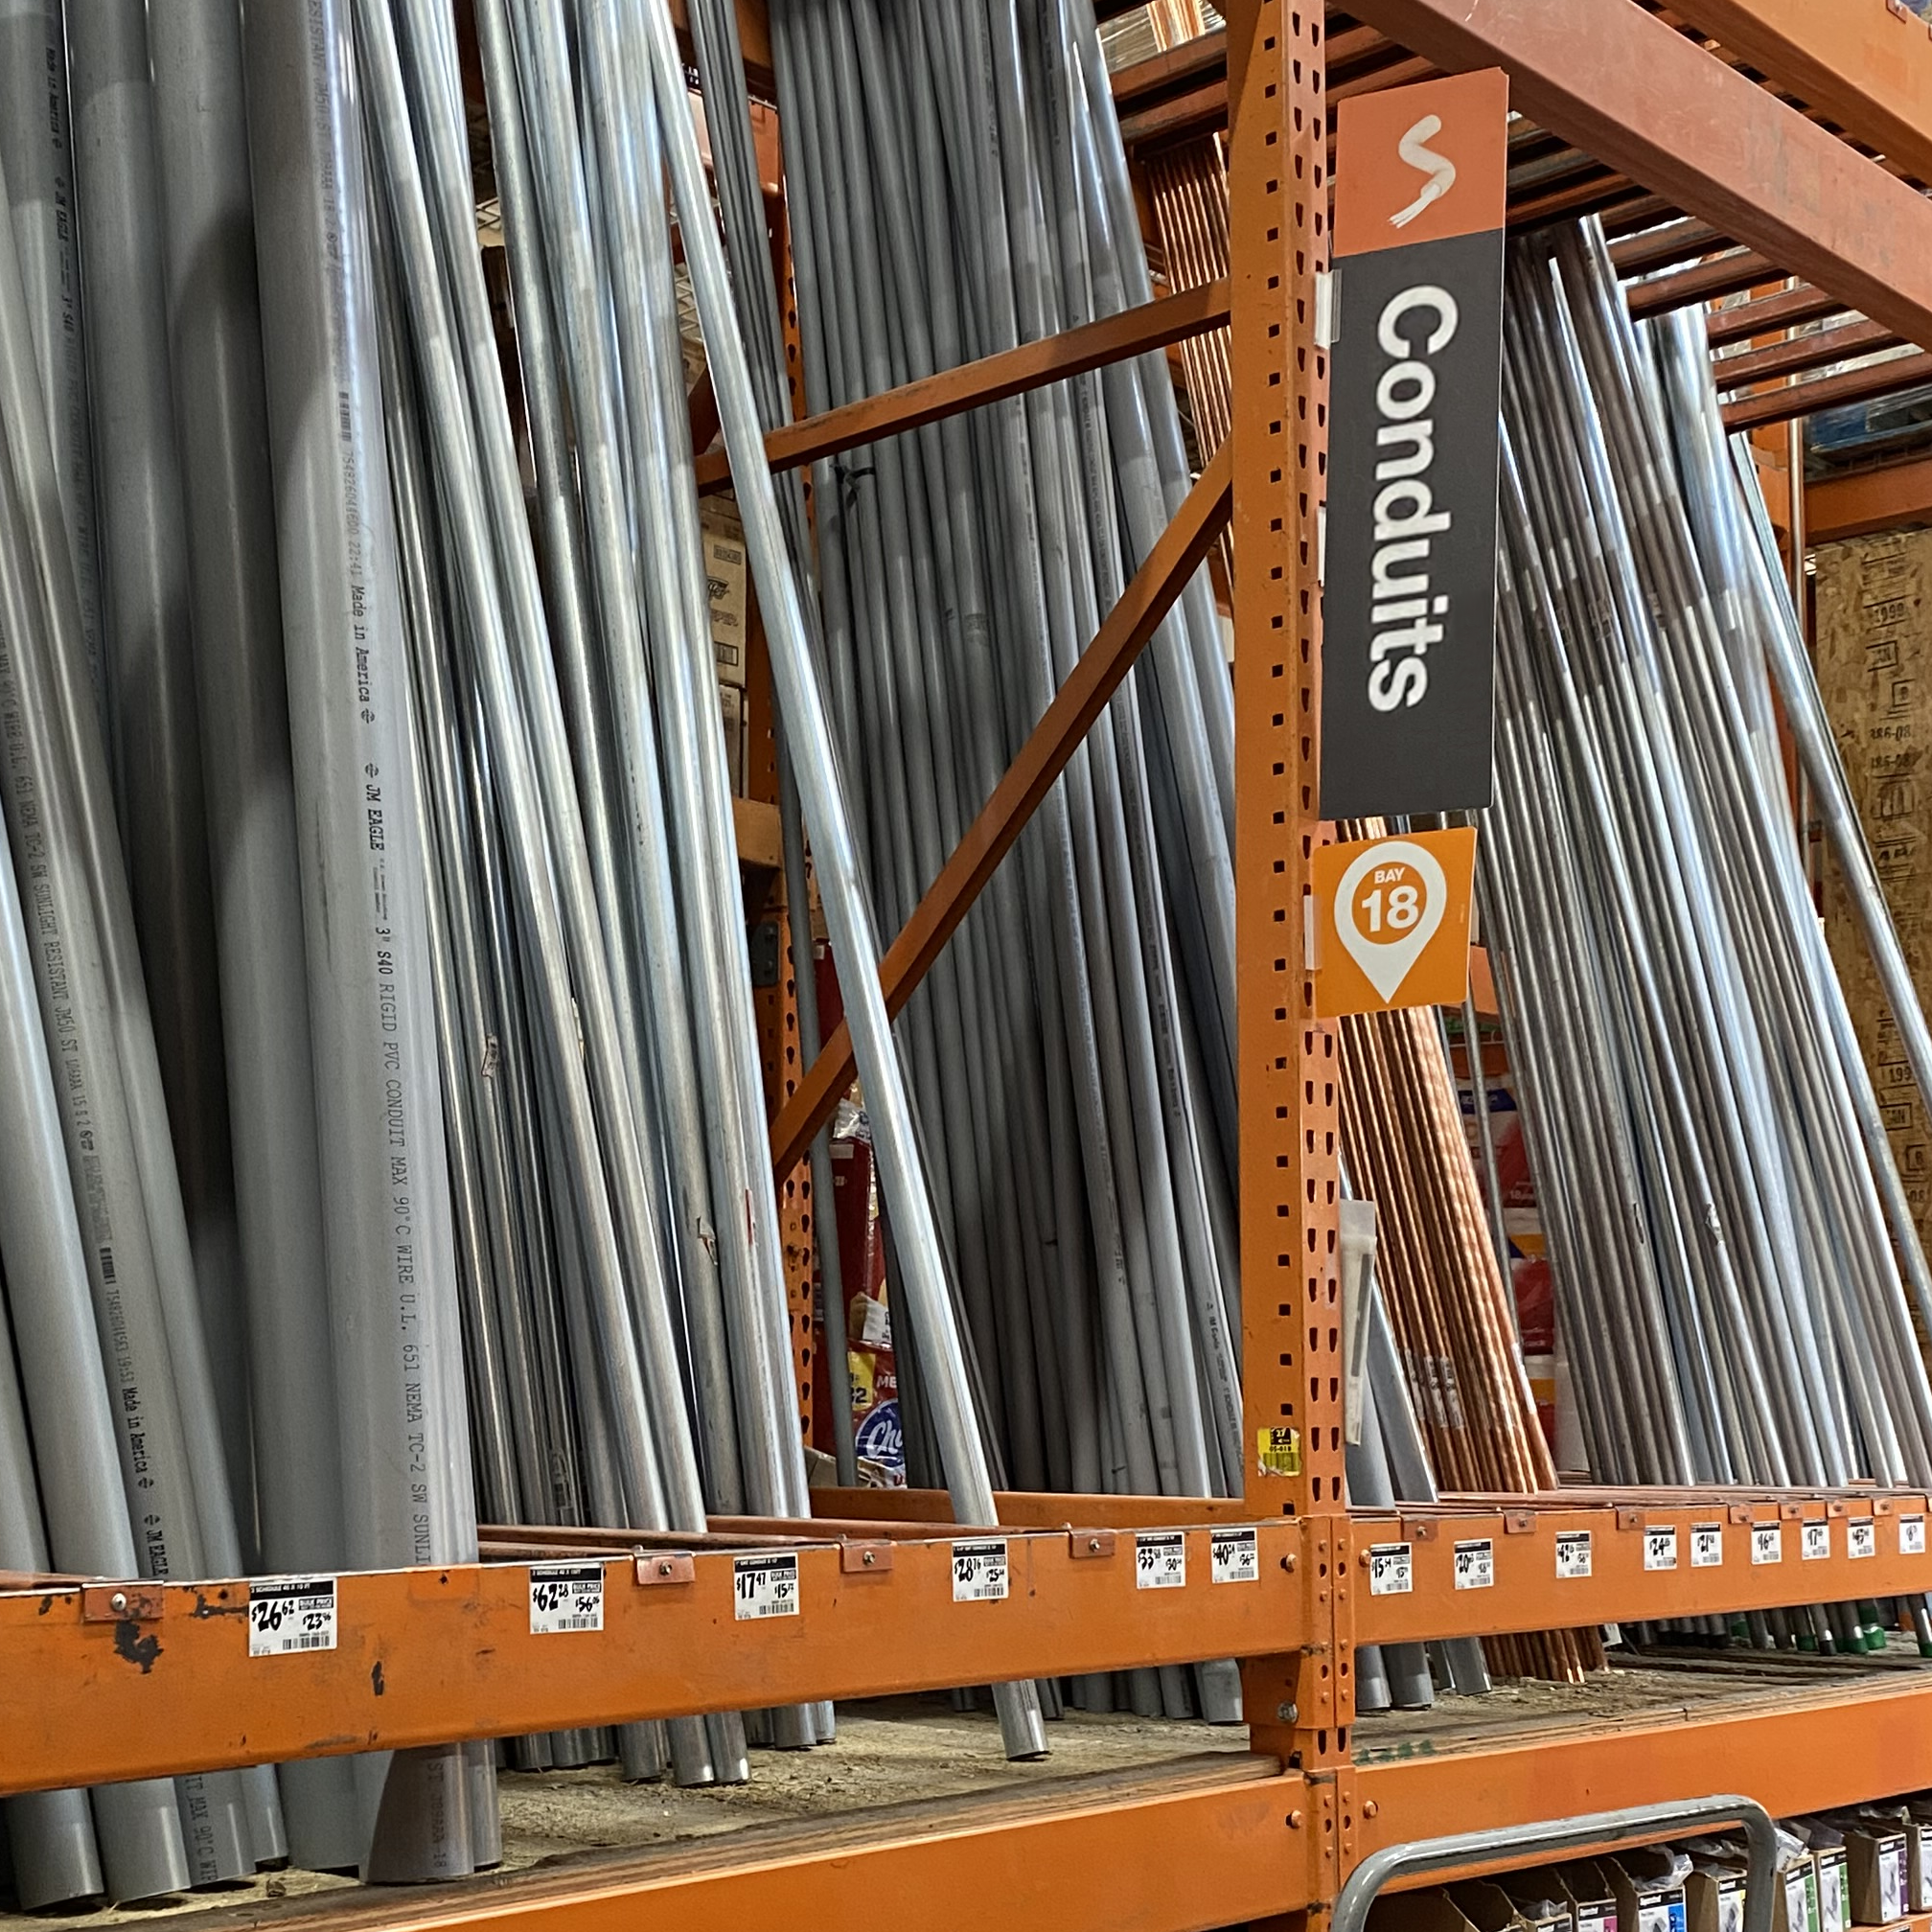
Step 2
Determine how many 1" EMT conduit poles you need. Next, go to a major hardware store, like Lowe's or Home Depot, and buy your conduit. Hopefully, you have a truck or trailer because the poles are 10' long. This 10' x 10' Slope Canopy with 2 Side Walls uses 10 conduit poles in size 1" diameter.
-
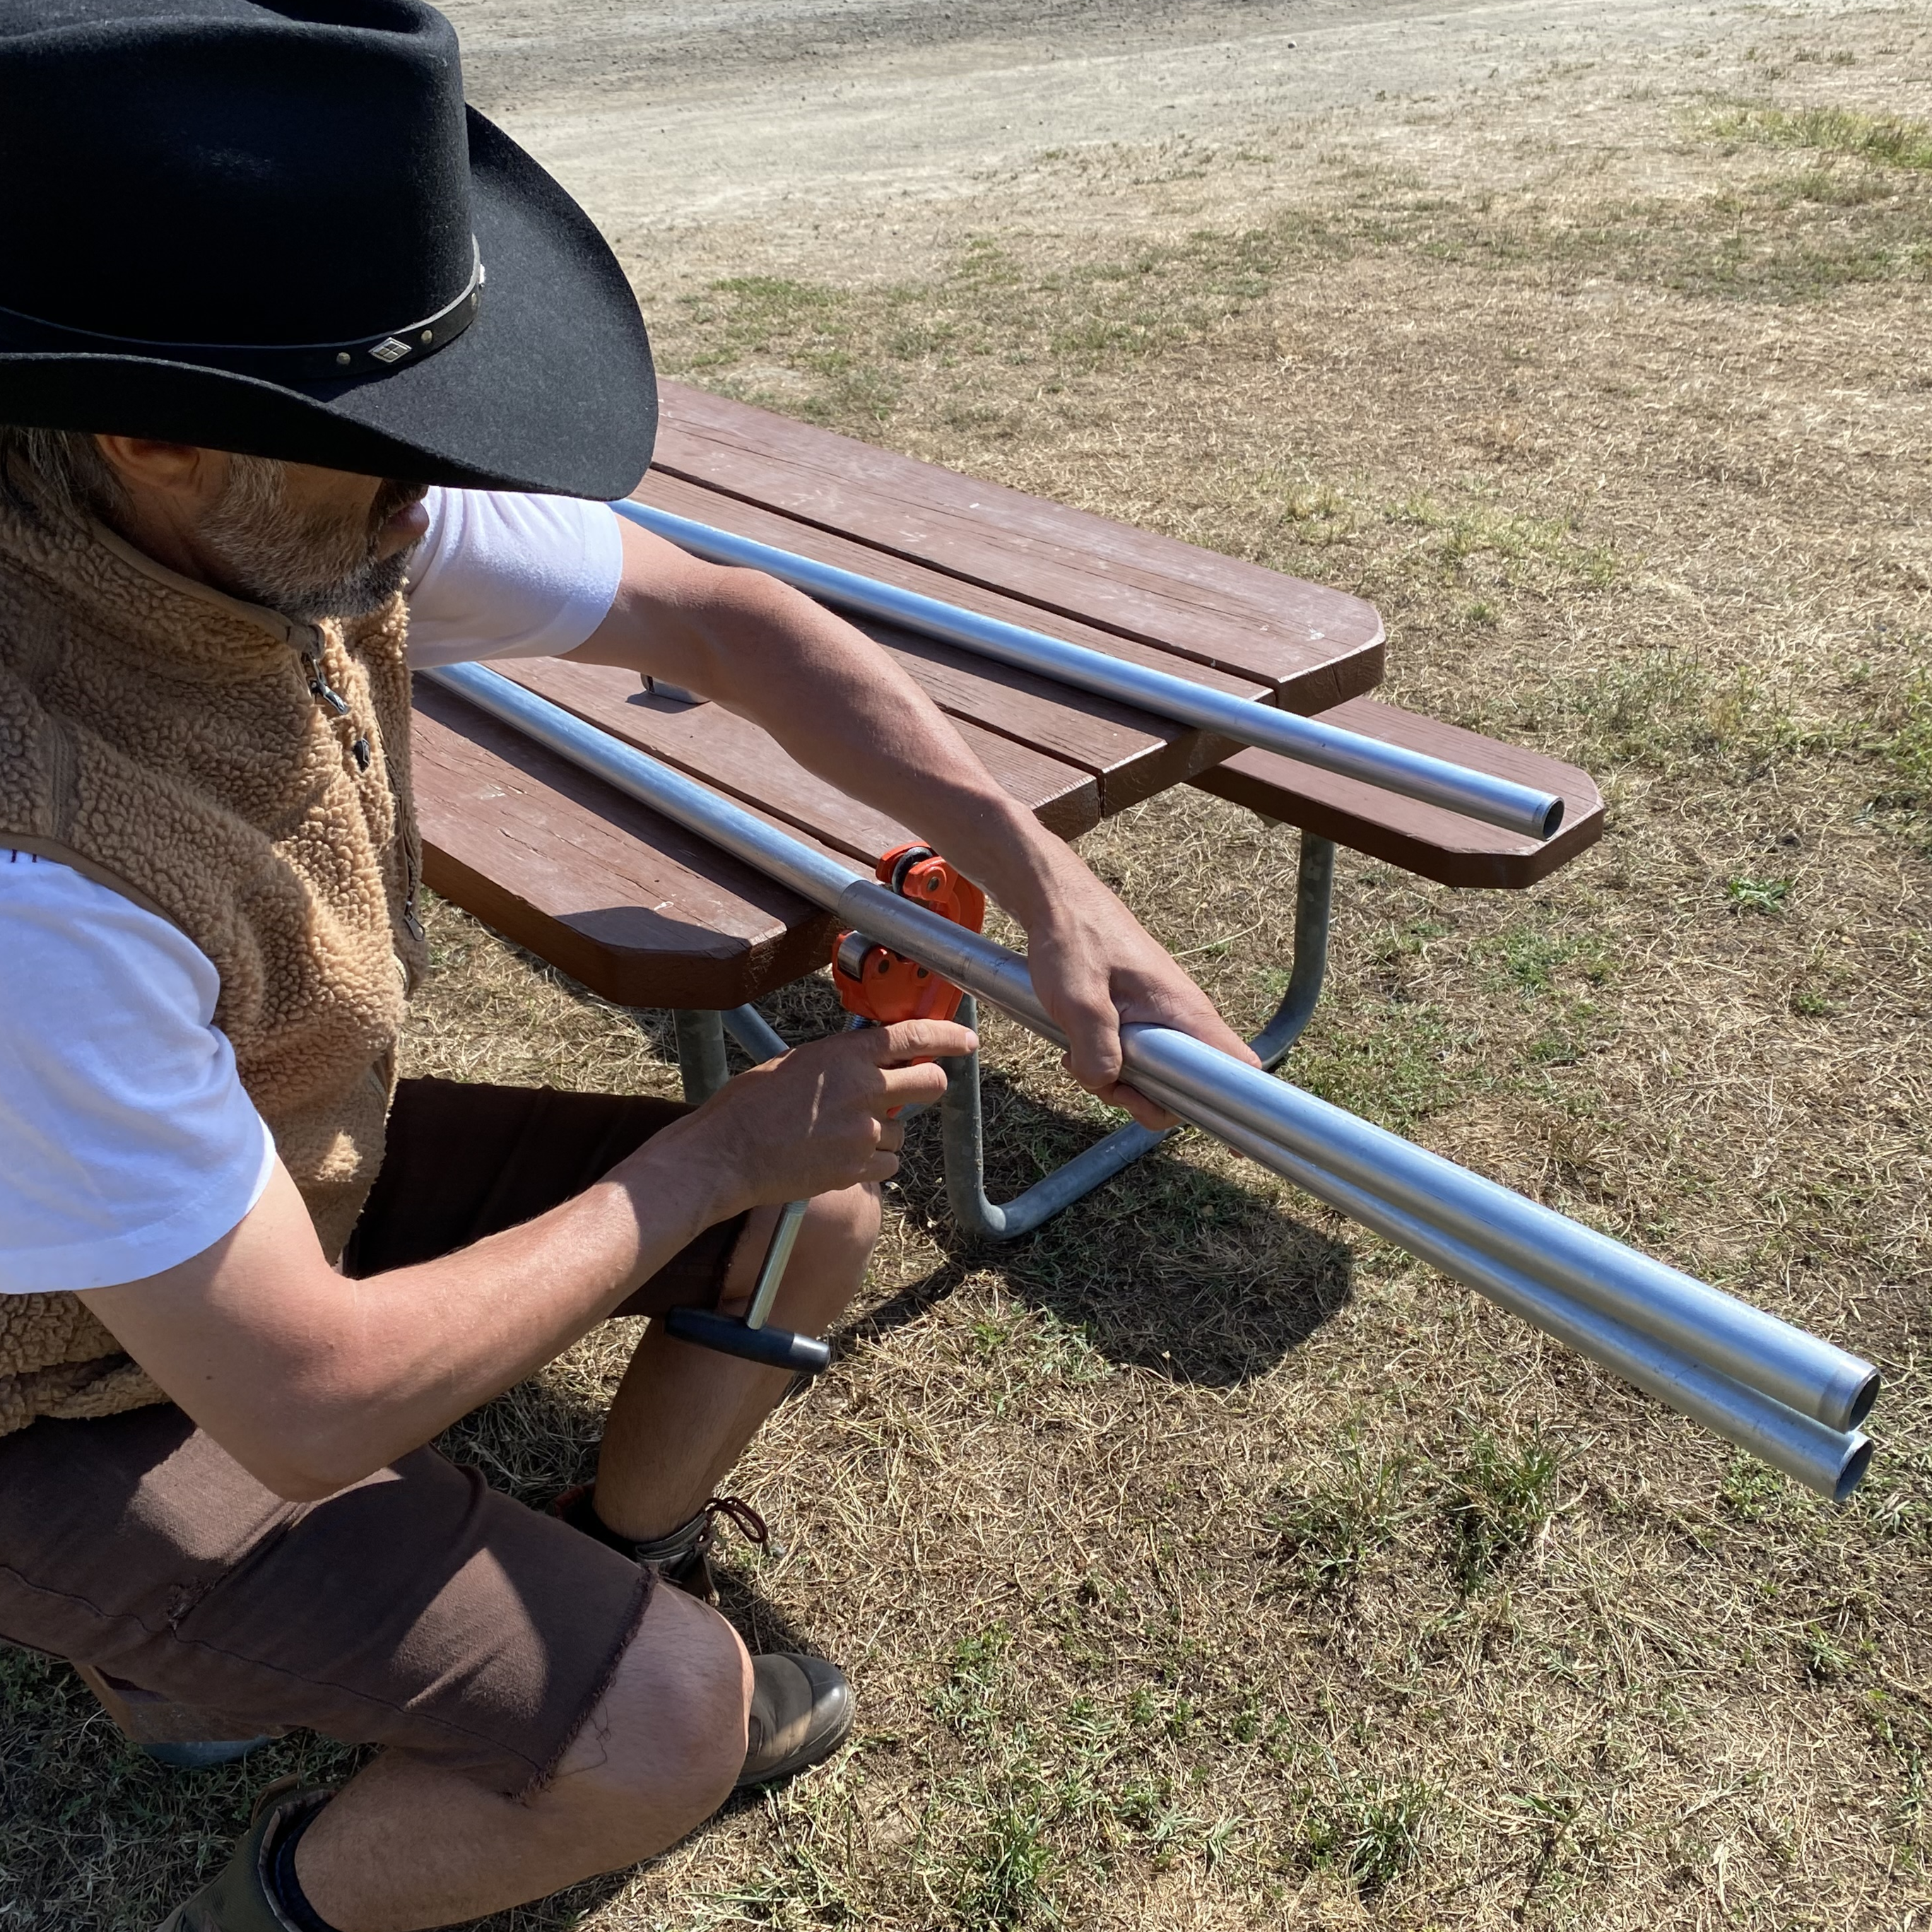
Step 3
Make any necessary cuts to your poles. If you don't have a saw, a pipe cutter can get the job done. In our example, two of the poles must be cut to 8' lengths for the shorter pair of legs. These lengths can of course all be changed to any custom size of your choice.
-
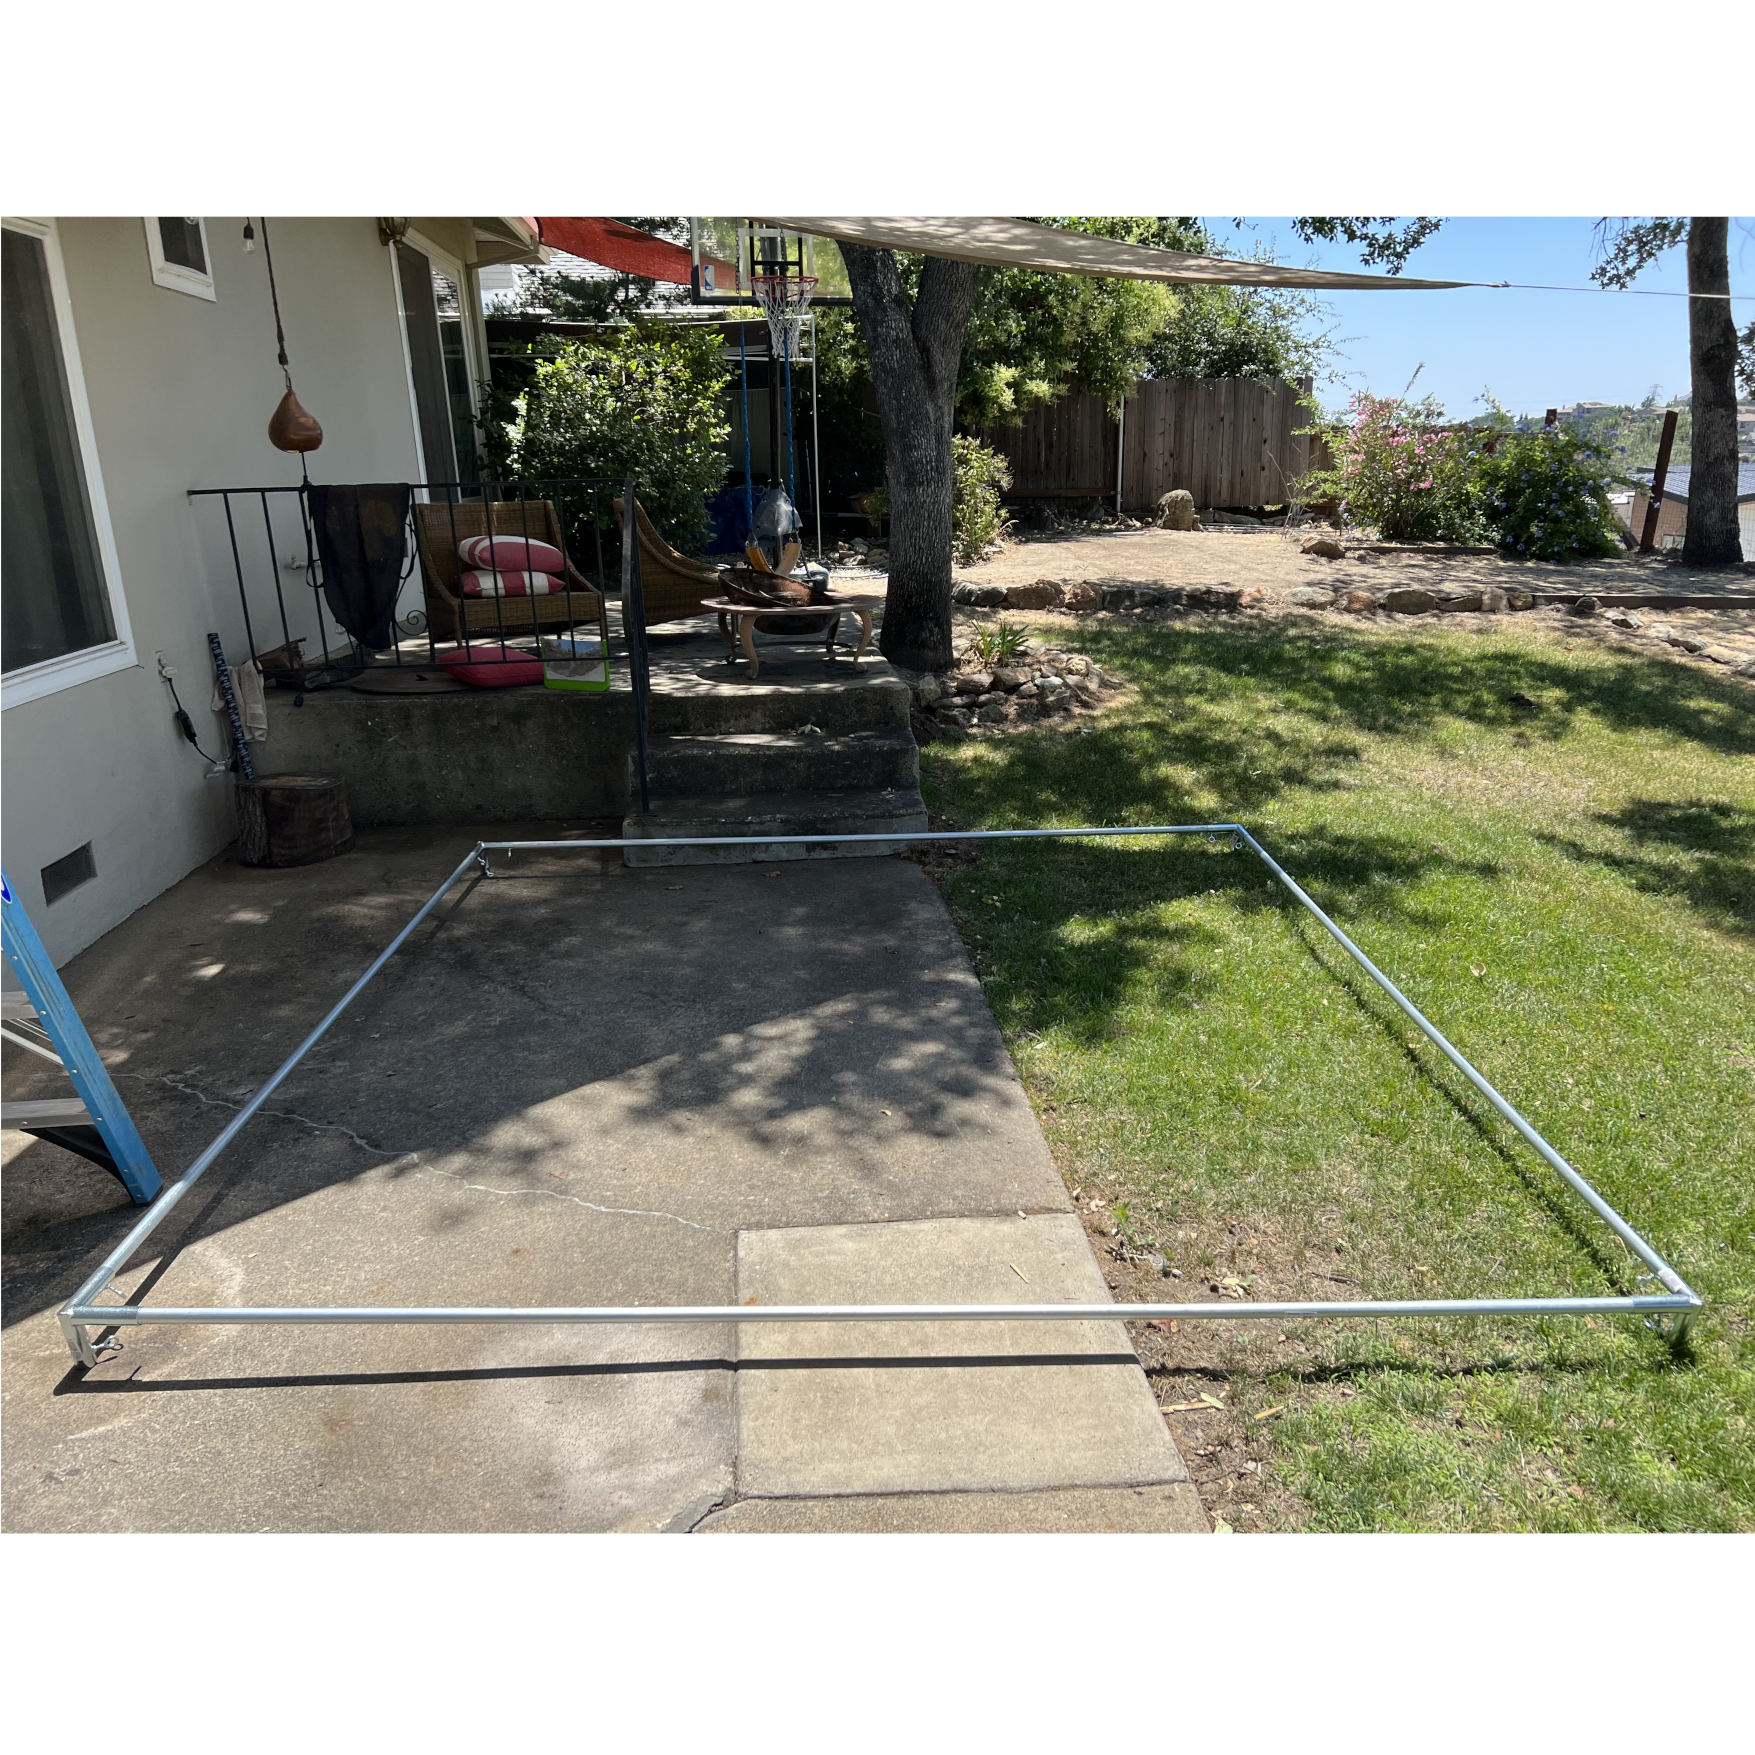
Step 4
If you can, start by building the Canopy's roof. There's a good reason for this. It is much easier (and safer) to attach your covering to the frame on the ground, rather than doing it up in the air, on a ladder.
-
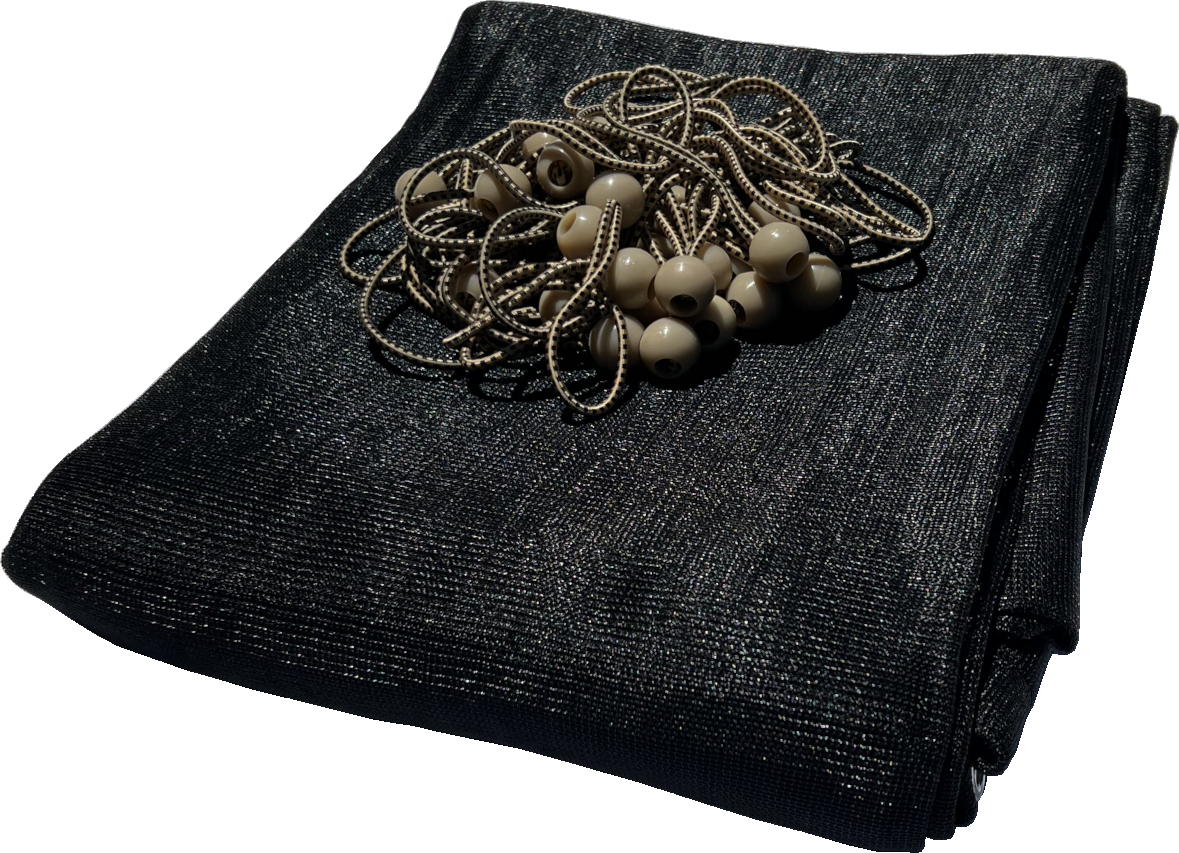
Step 5
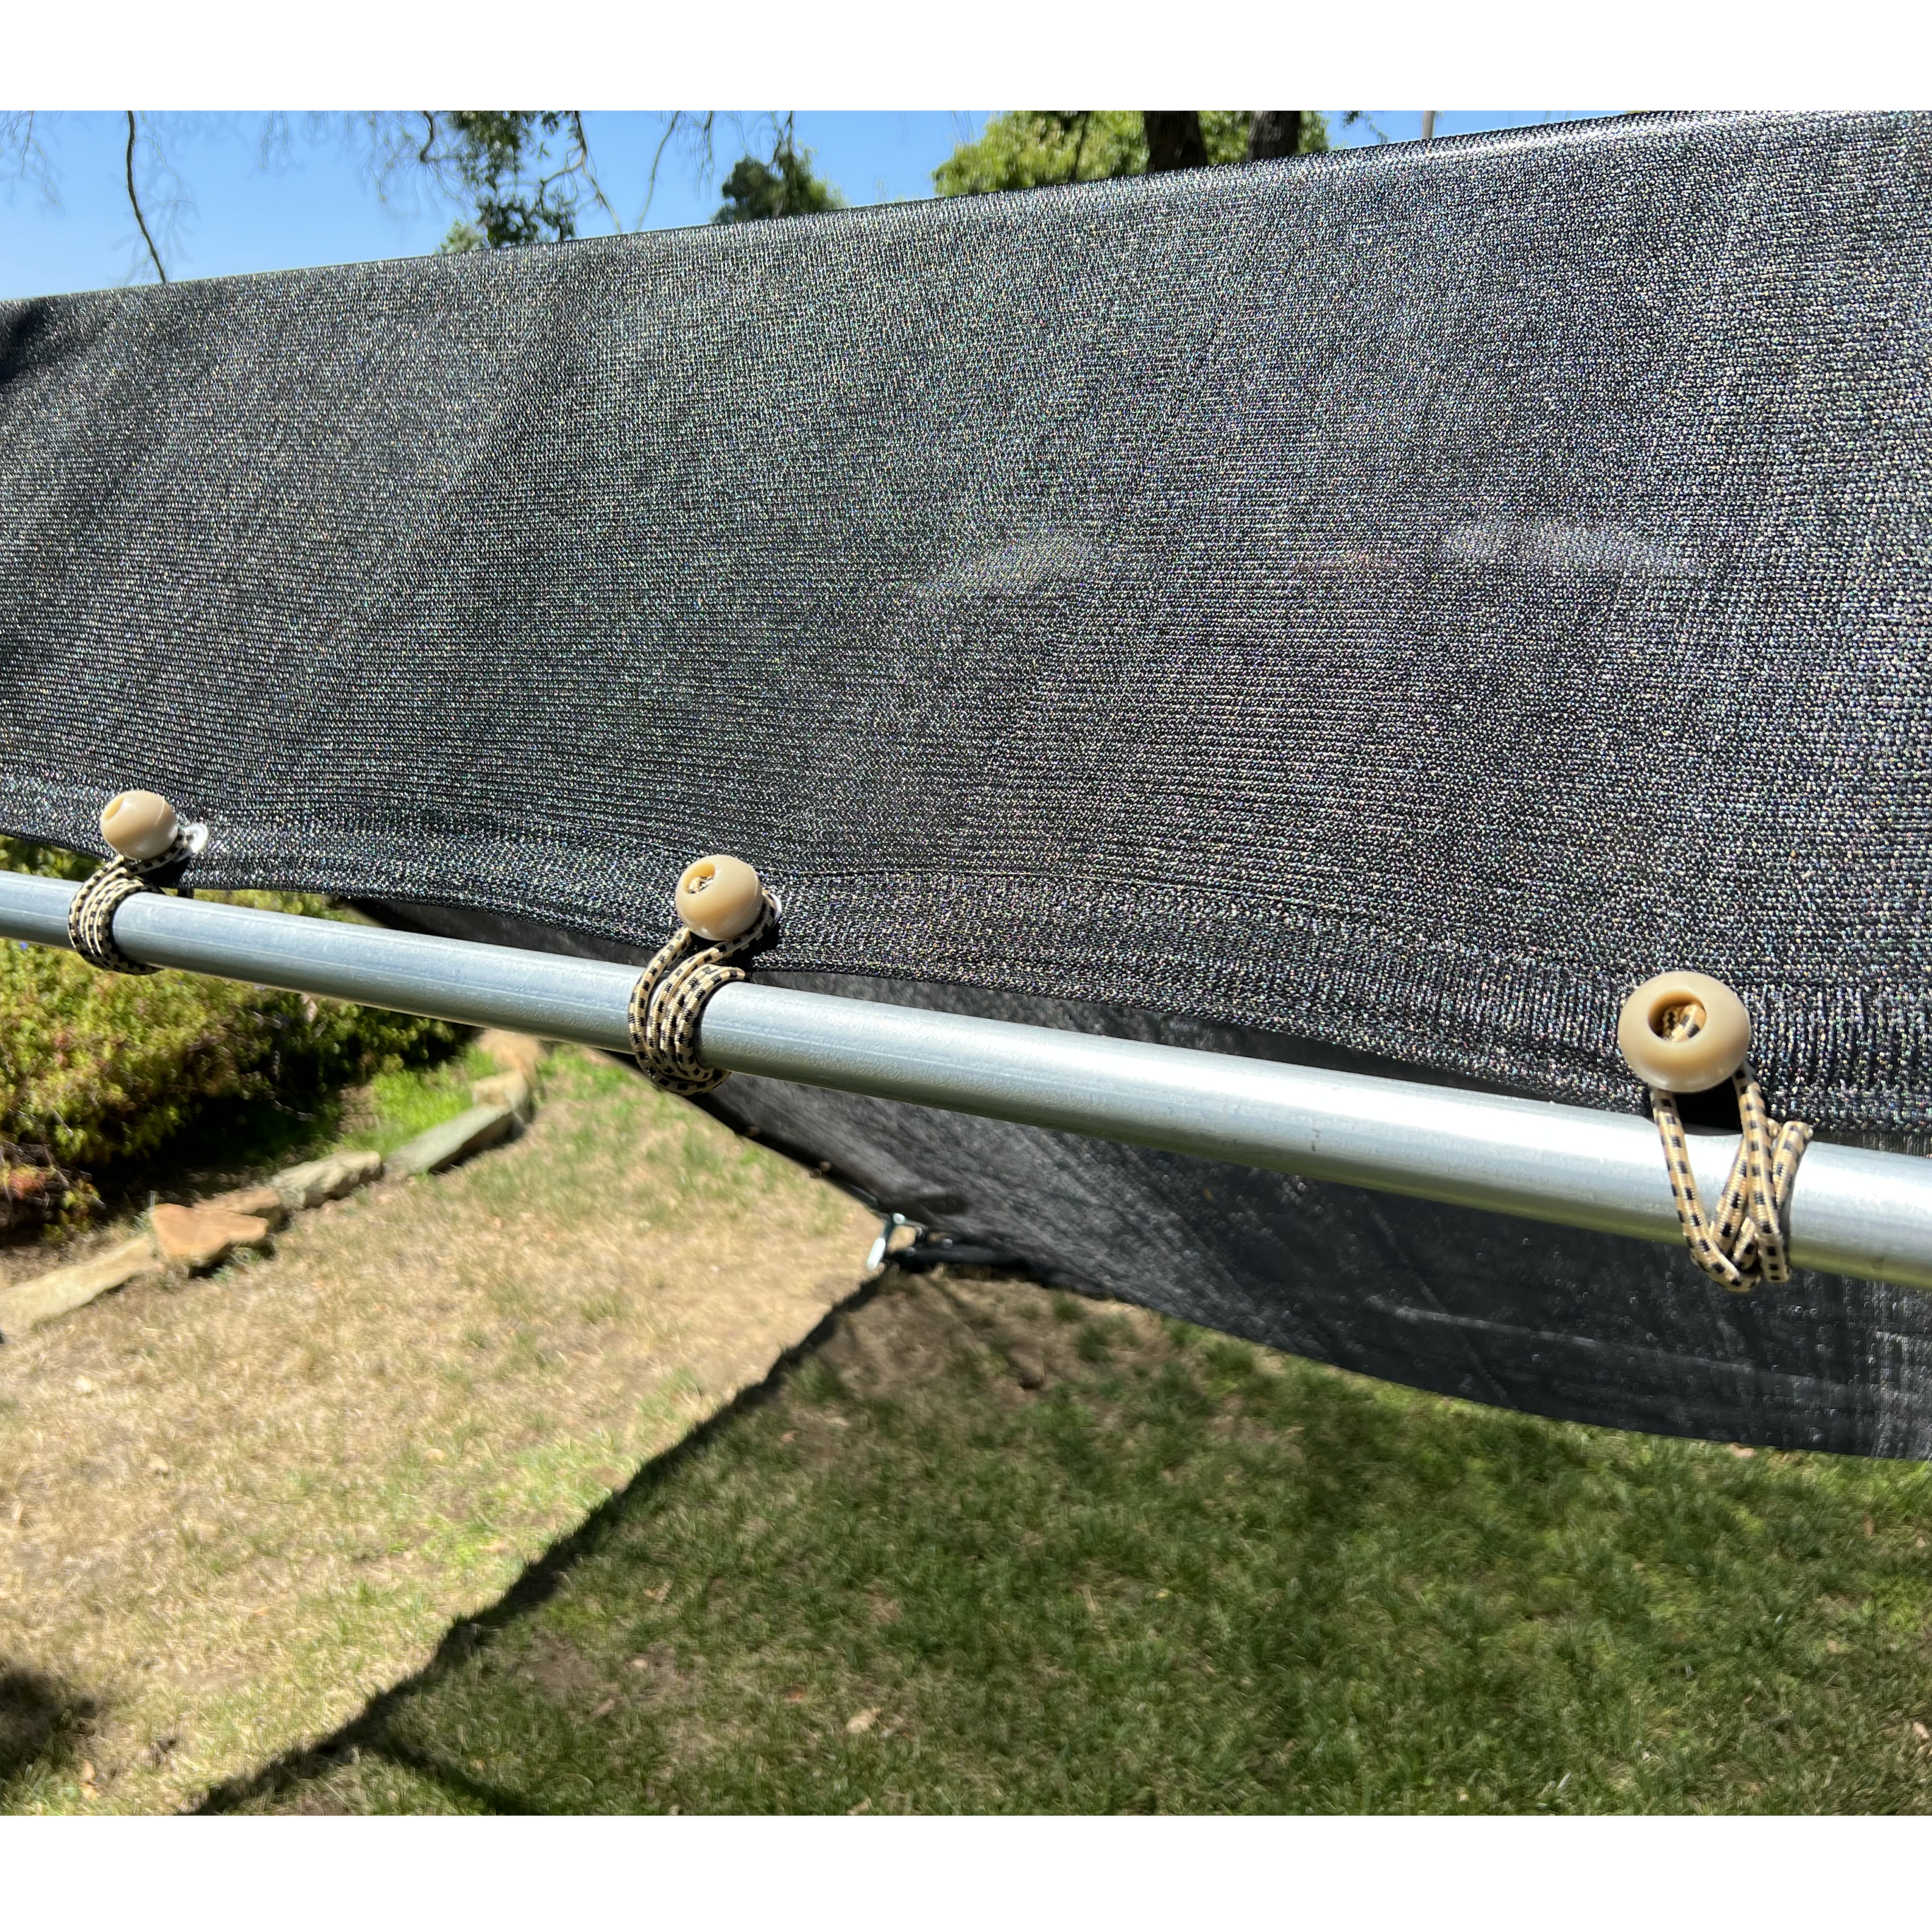
Decide which cover to use. There are many options (tarps, shade nets, bird netting, etc.). For this project, we are using a shade net (permeable cover). This allows wind and rain to pass through the mesh fabric. The net has grommets along the edges, which make for an easy attachment to the frame with ball bungees.
-
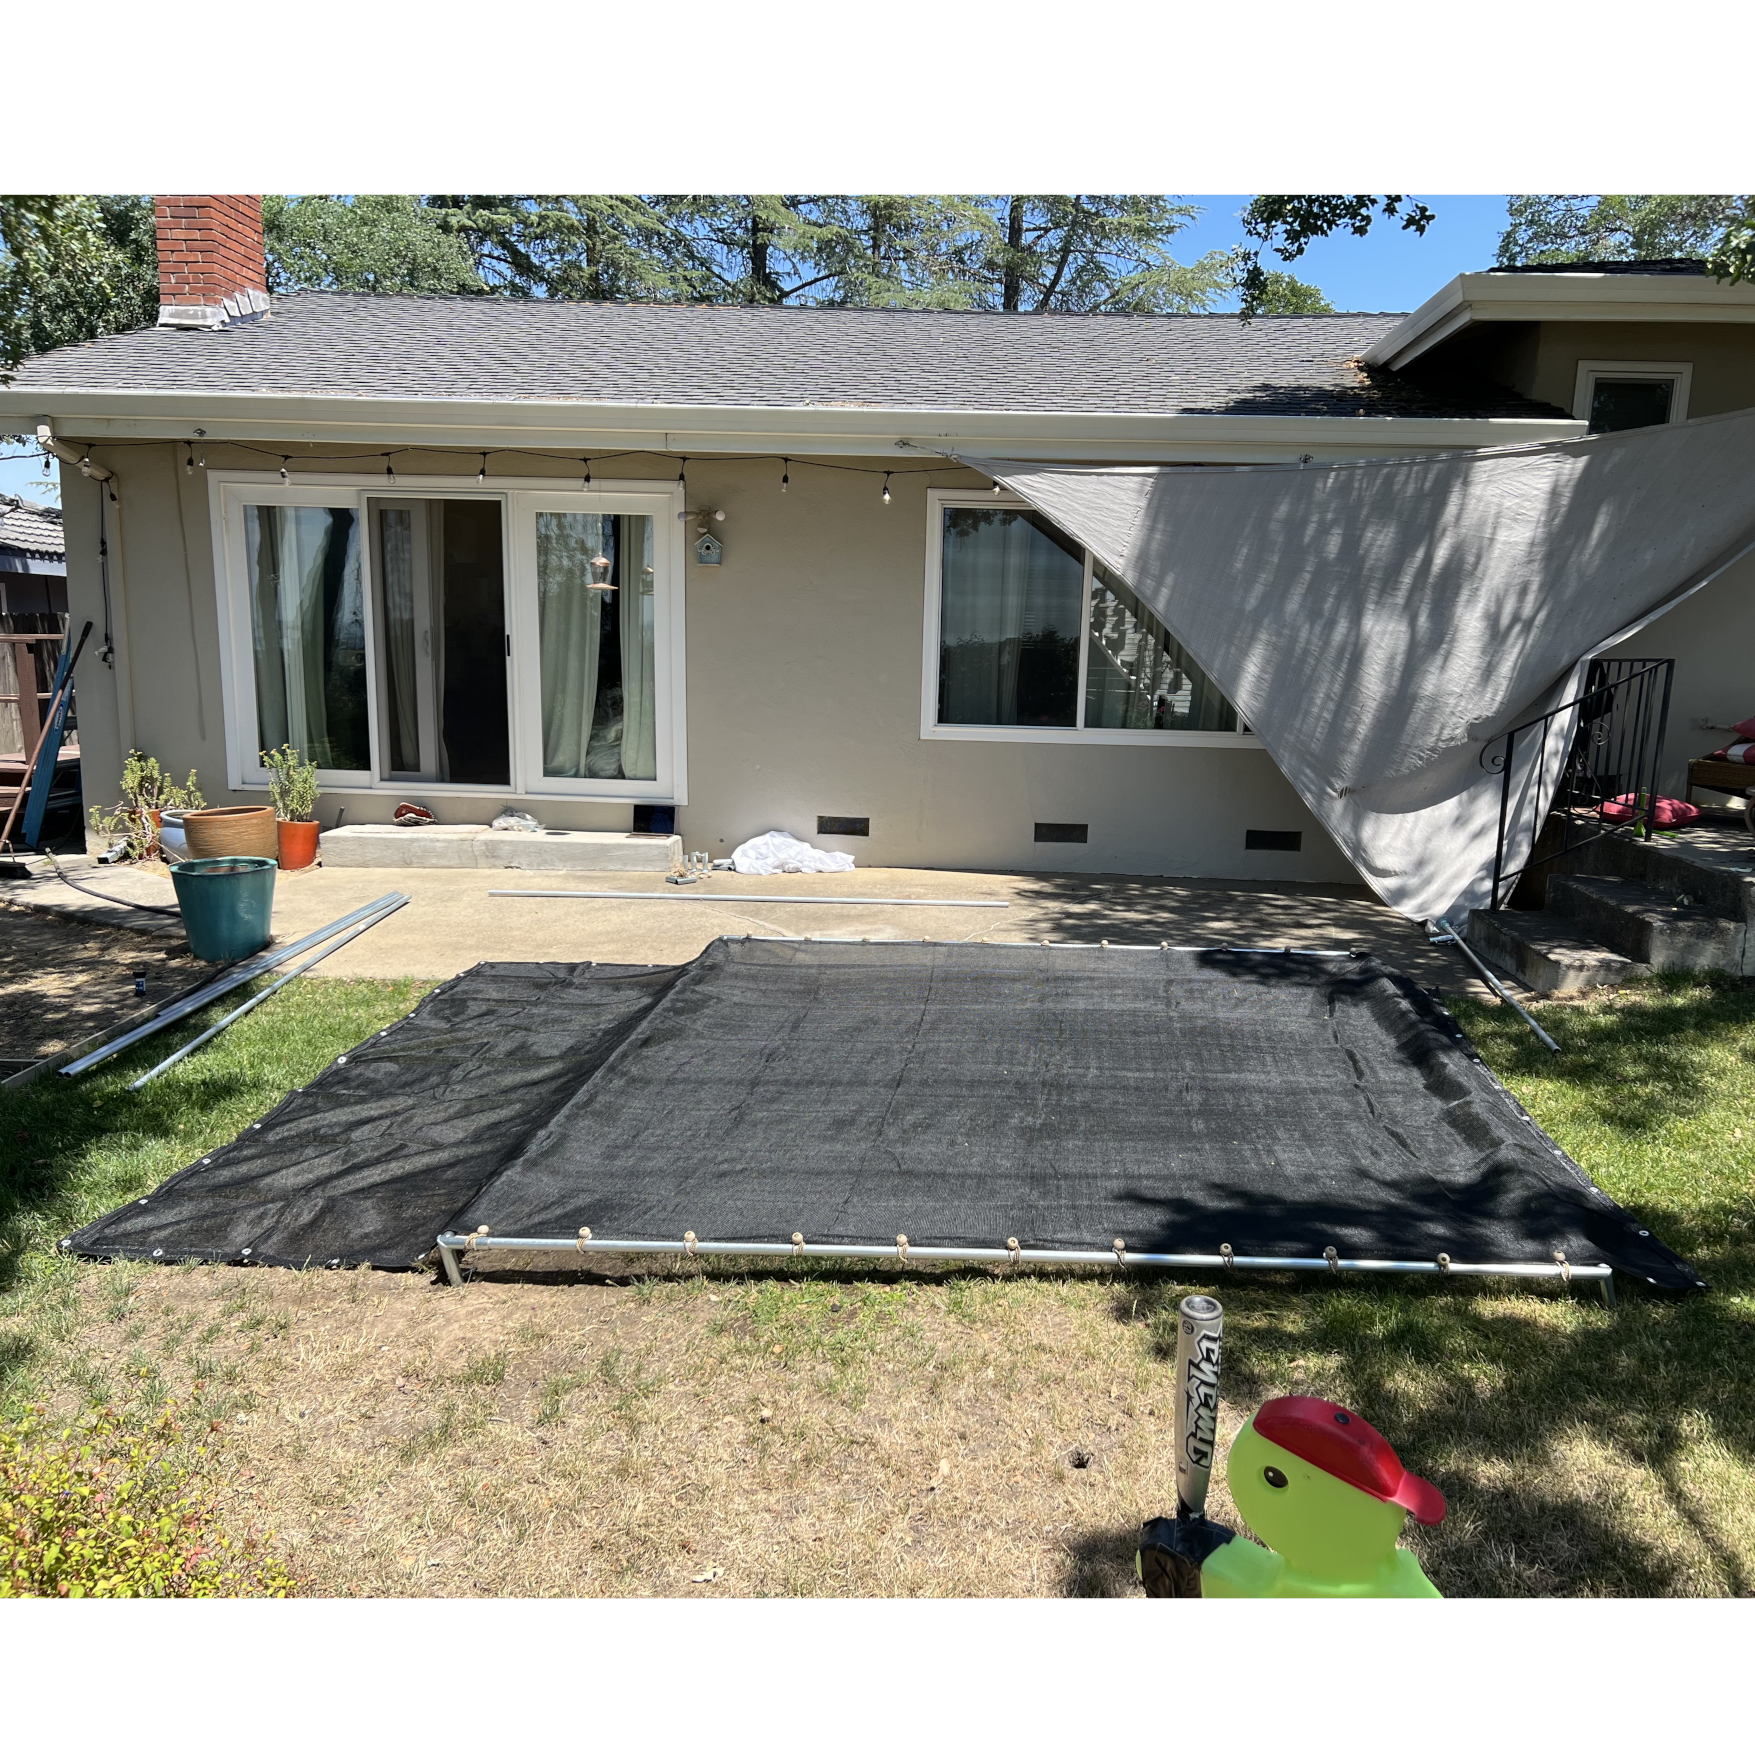
Step 6
We chose a shade net size a little larger (10' x 14') than our roof size (10' x 10') because we are using Side Walls, and we want a portion of the shade to extend down the Canopy Sides. We attached most of the shade net to the frame with ball bungees, but left the sections that will go down the Canopy Sides alone for now.
-
Step 7
Next, we connected our shorter set of legs to the roof Fittings and attached our first Side Wall.
-
Step 8
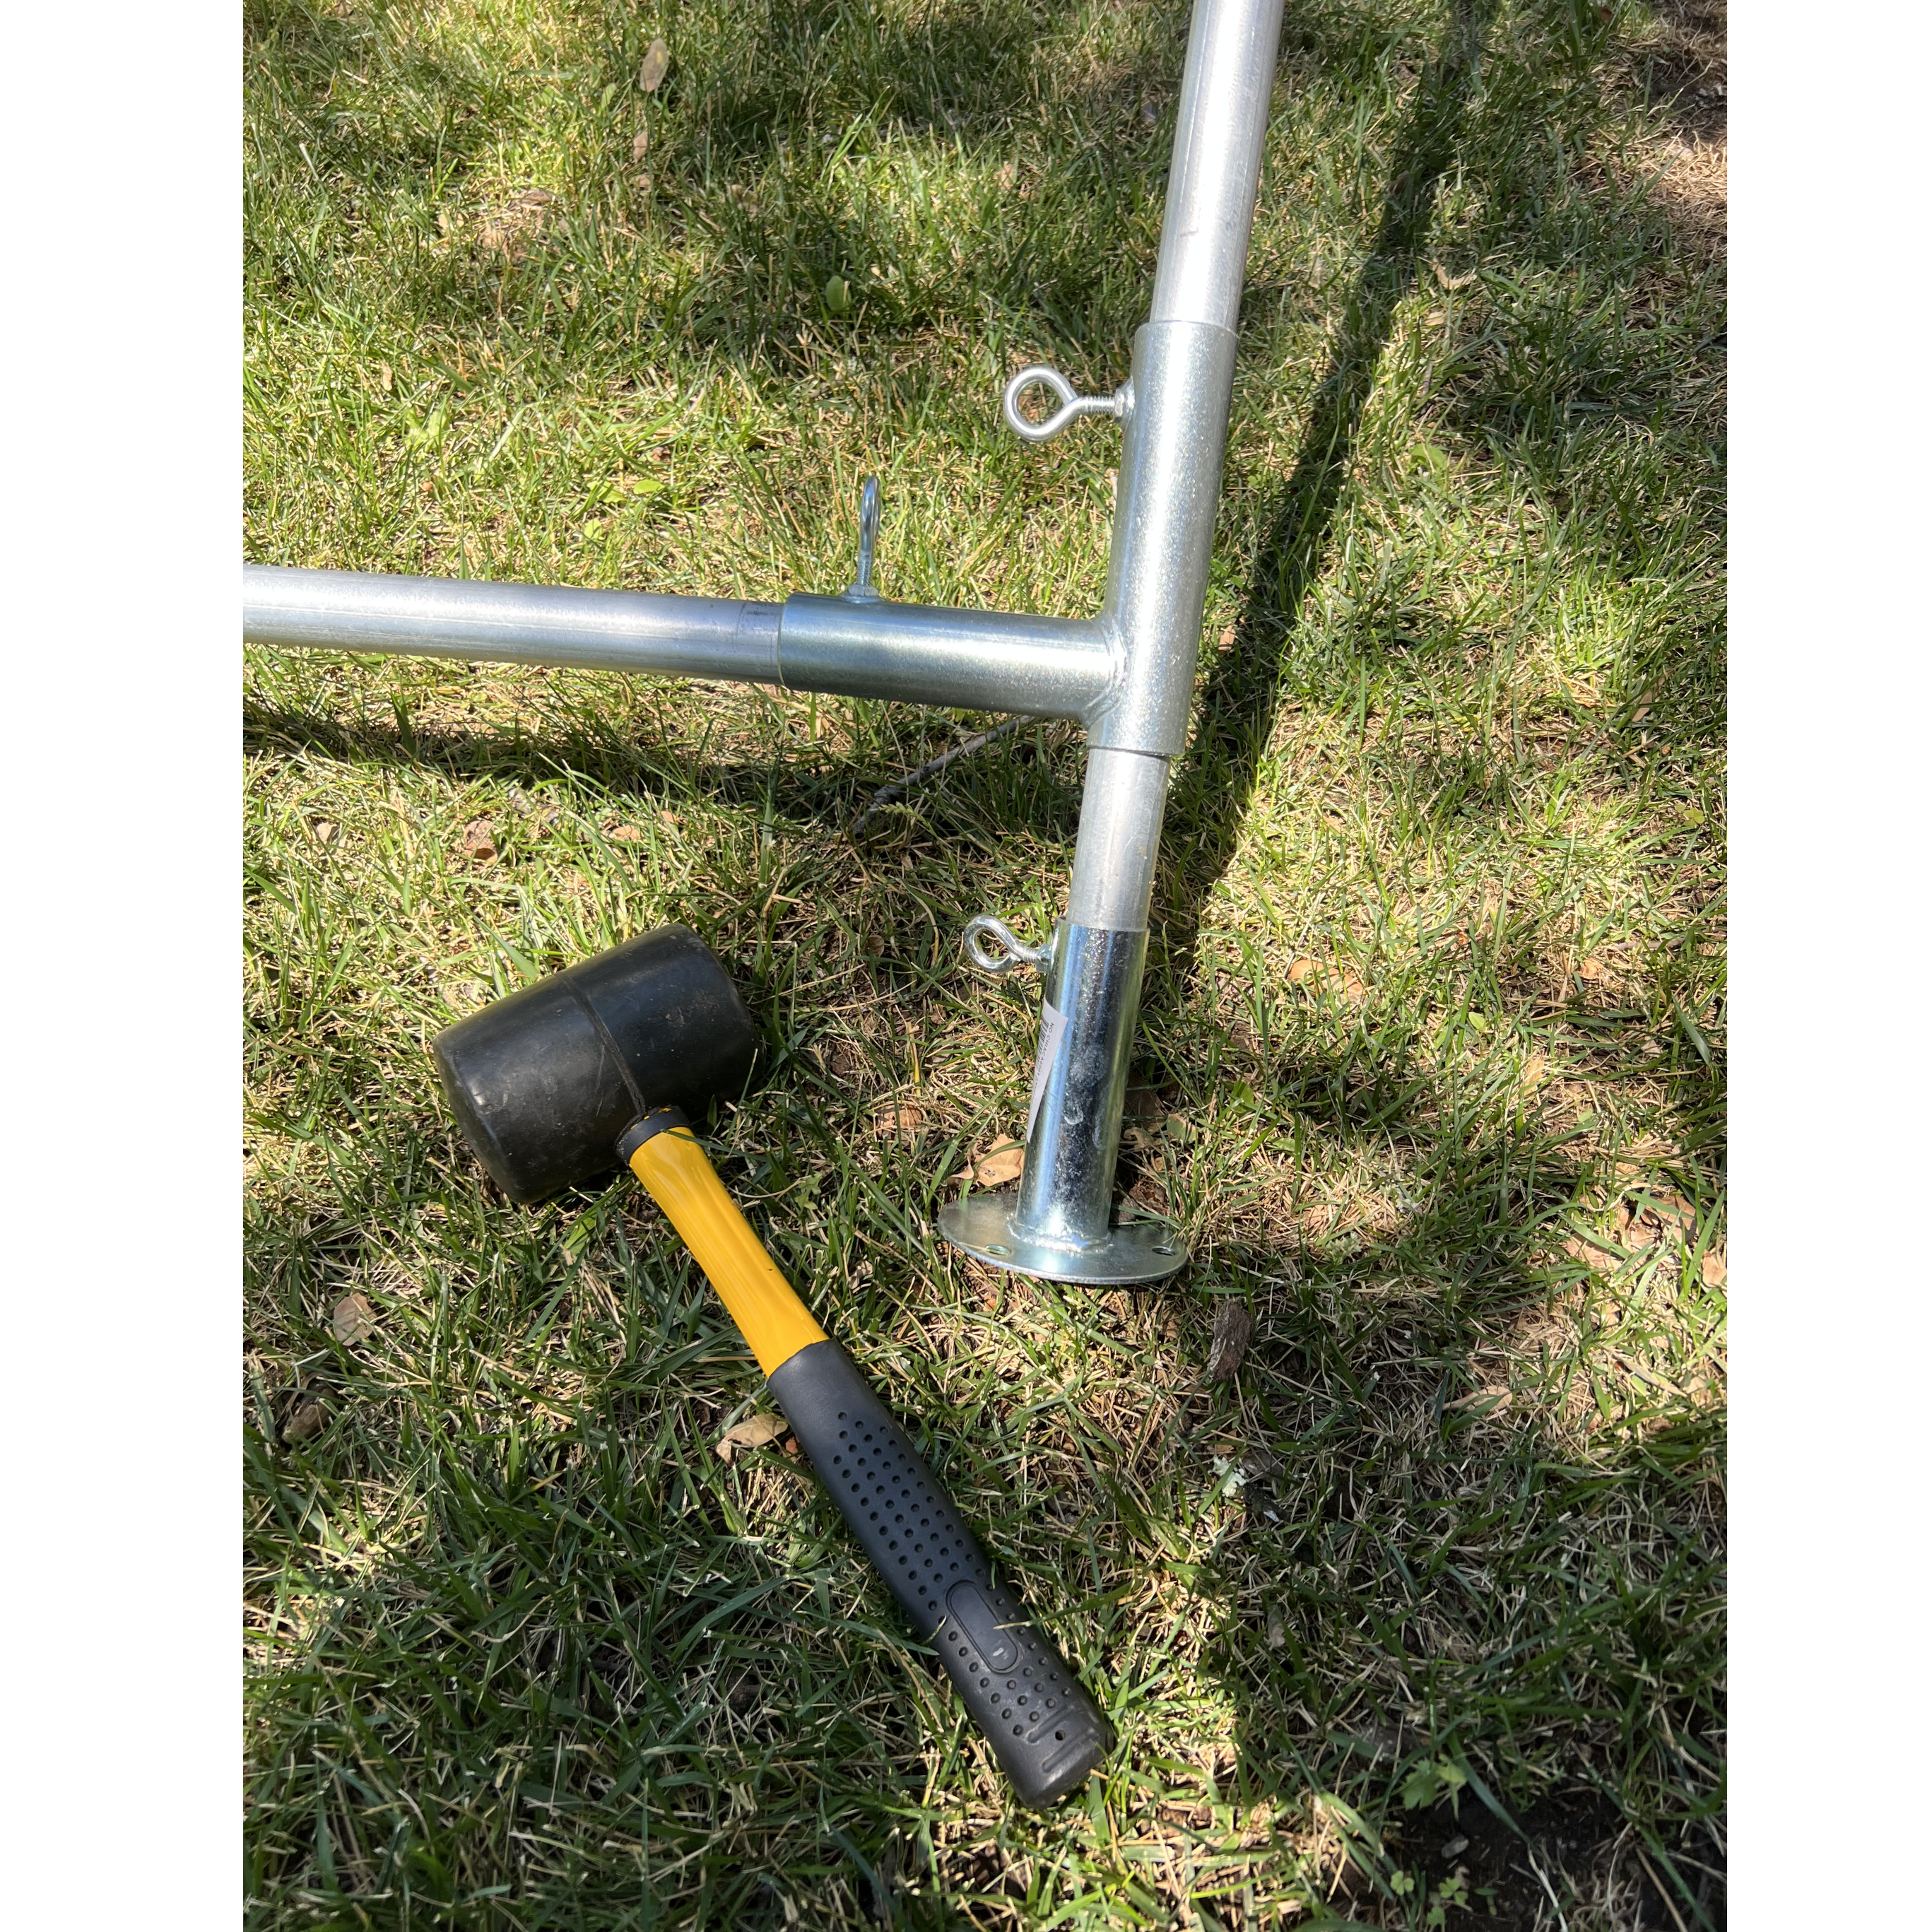
Although it is possible to build a Canopy without tools, a rubber mallet makes life so much easier. A little nudge with a rubber mallet goes a long way, especially when adjusting Side Walls on the Canopy legs.
-
Step 9
Using the rubber mallet, we slid the Side Wall up the Canopy legs to meet the shade net near the top. Once in place, ball bungees were used again to secure our shade to the Side Wall. Then, we repeated this process for the other set of legs and Side Wall.
-
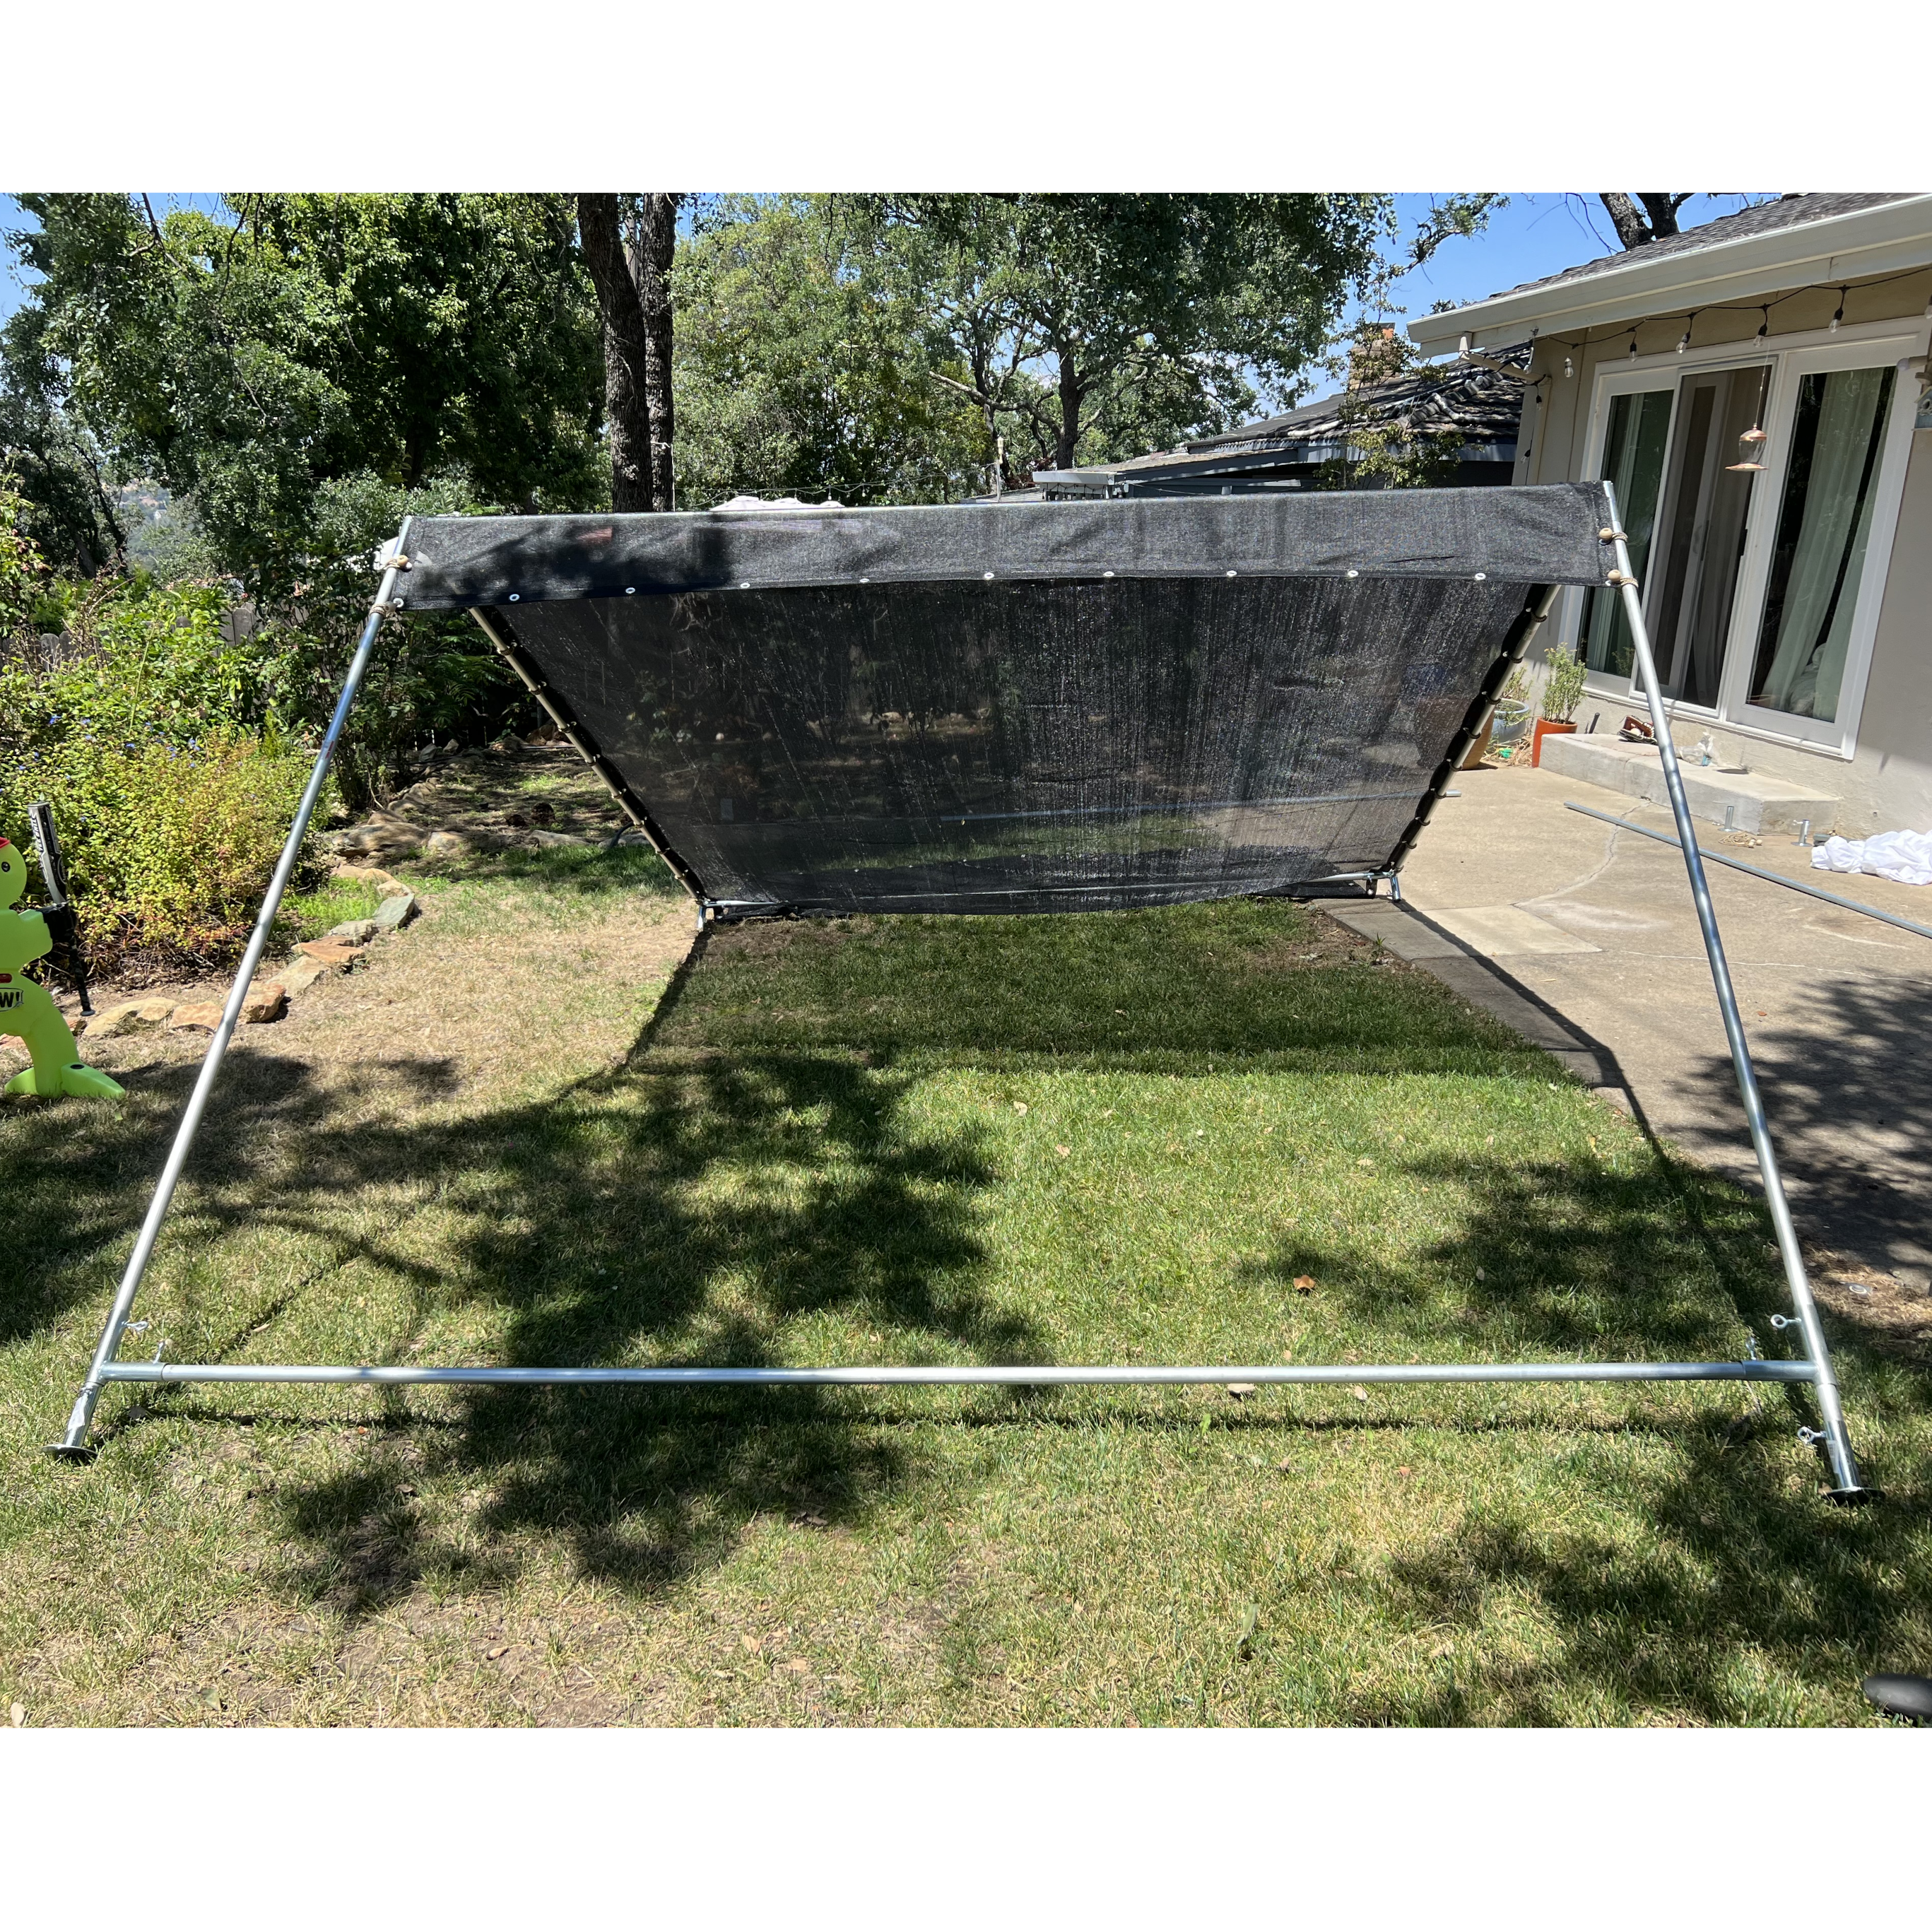
Step 10
Success! Our Canopy is up! Now, we can make any minor adjustments to the Canopy legs and/or Side Walls. We are almost done...
-

Step 11
Make sure all your Eye Bolts are secure. A screwdriver works wonders here. Used through the Eye Bolts, a screwdriver provides more leverage than what you will get from just using your hands for final tightening.
-
Step 12
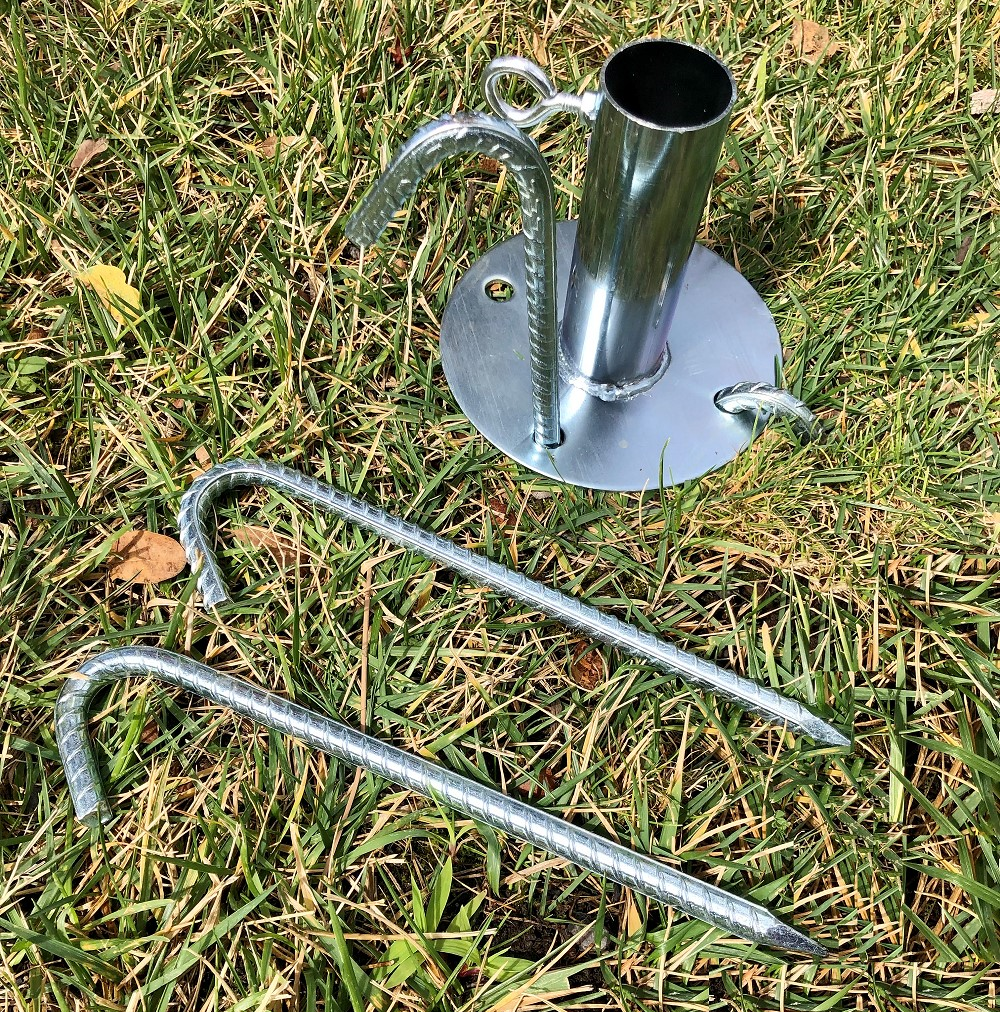
Finally, be safe and secure your Canopy to the ground. Foot Pads are an easy way to do this. There are three holes on each Foot Pad base for anchoring hardware to keep your Canopy grounded. We have two different hardware styles that fit our Foot Pads available for purchase - Anchor Nails and Anchor Stakes.


